
If you are looking for the perfect party appetizer, one that disappears almost instantly every single time. This cheese ball is it! It is creamy, savory, and completely crowd-pleasing; it's the kind of recipe guests ask for before they've even finished their first bite.
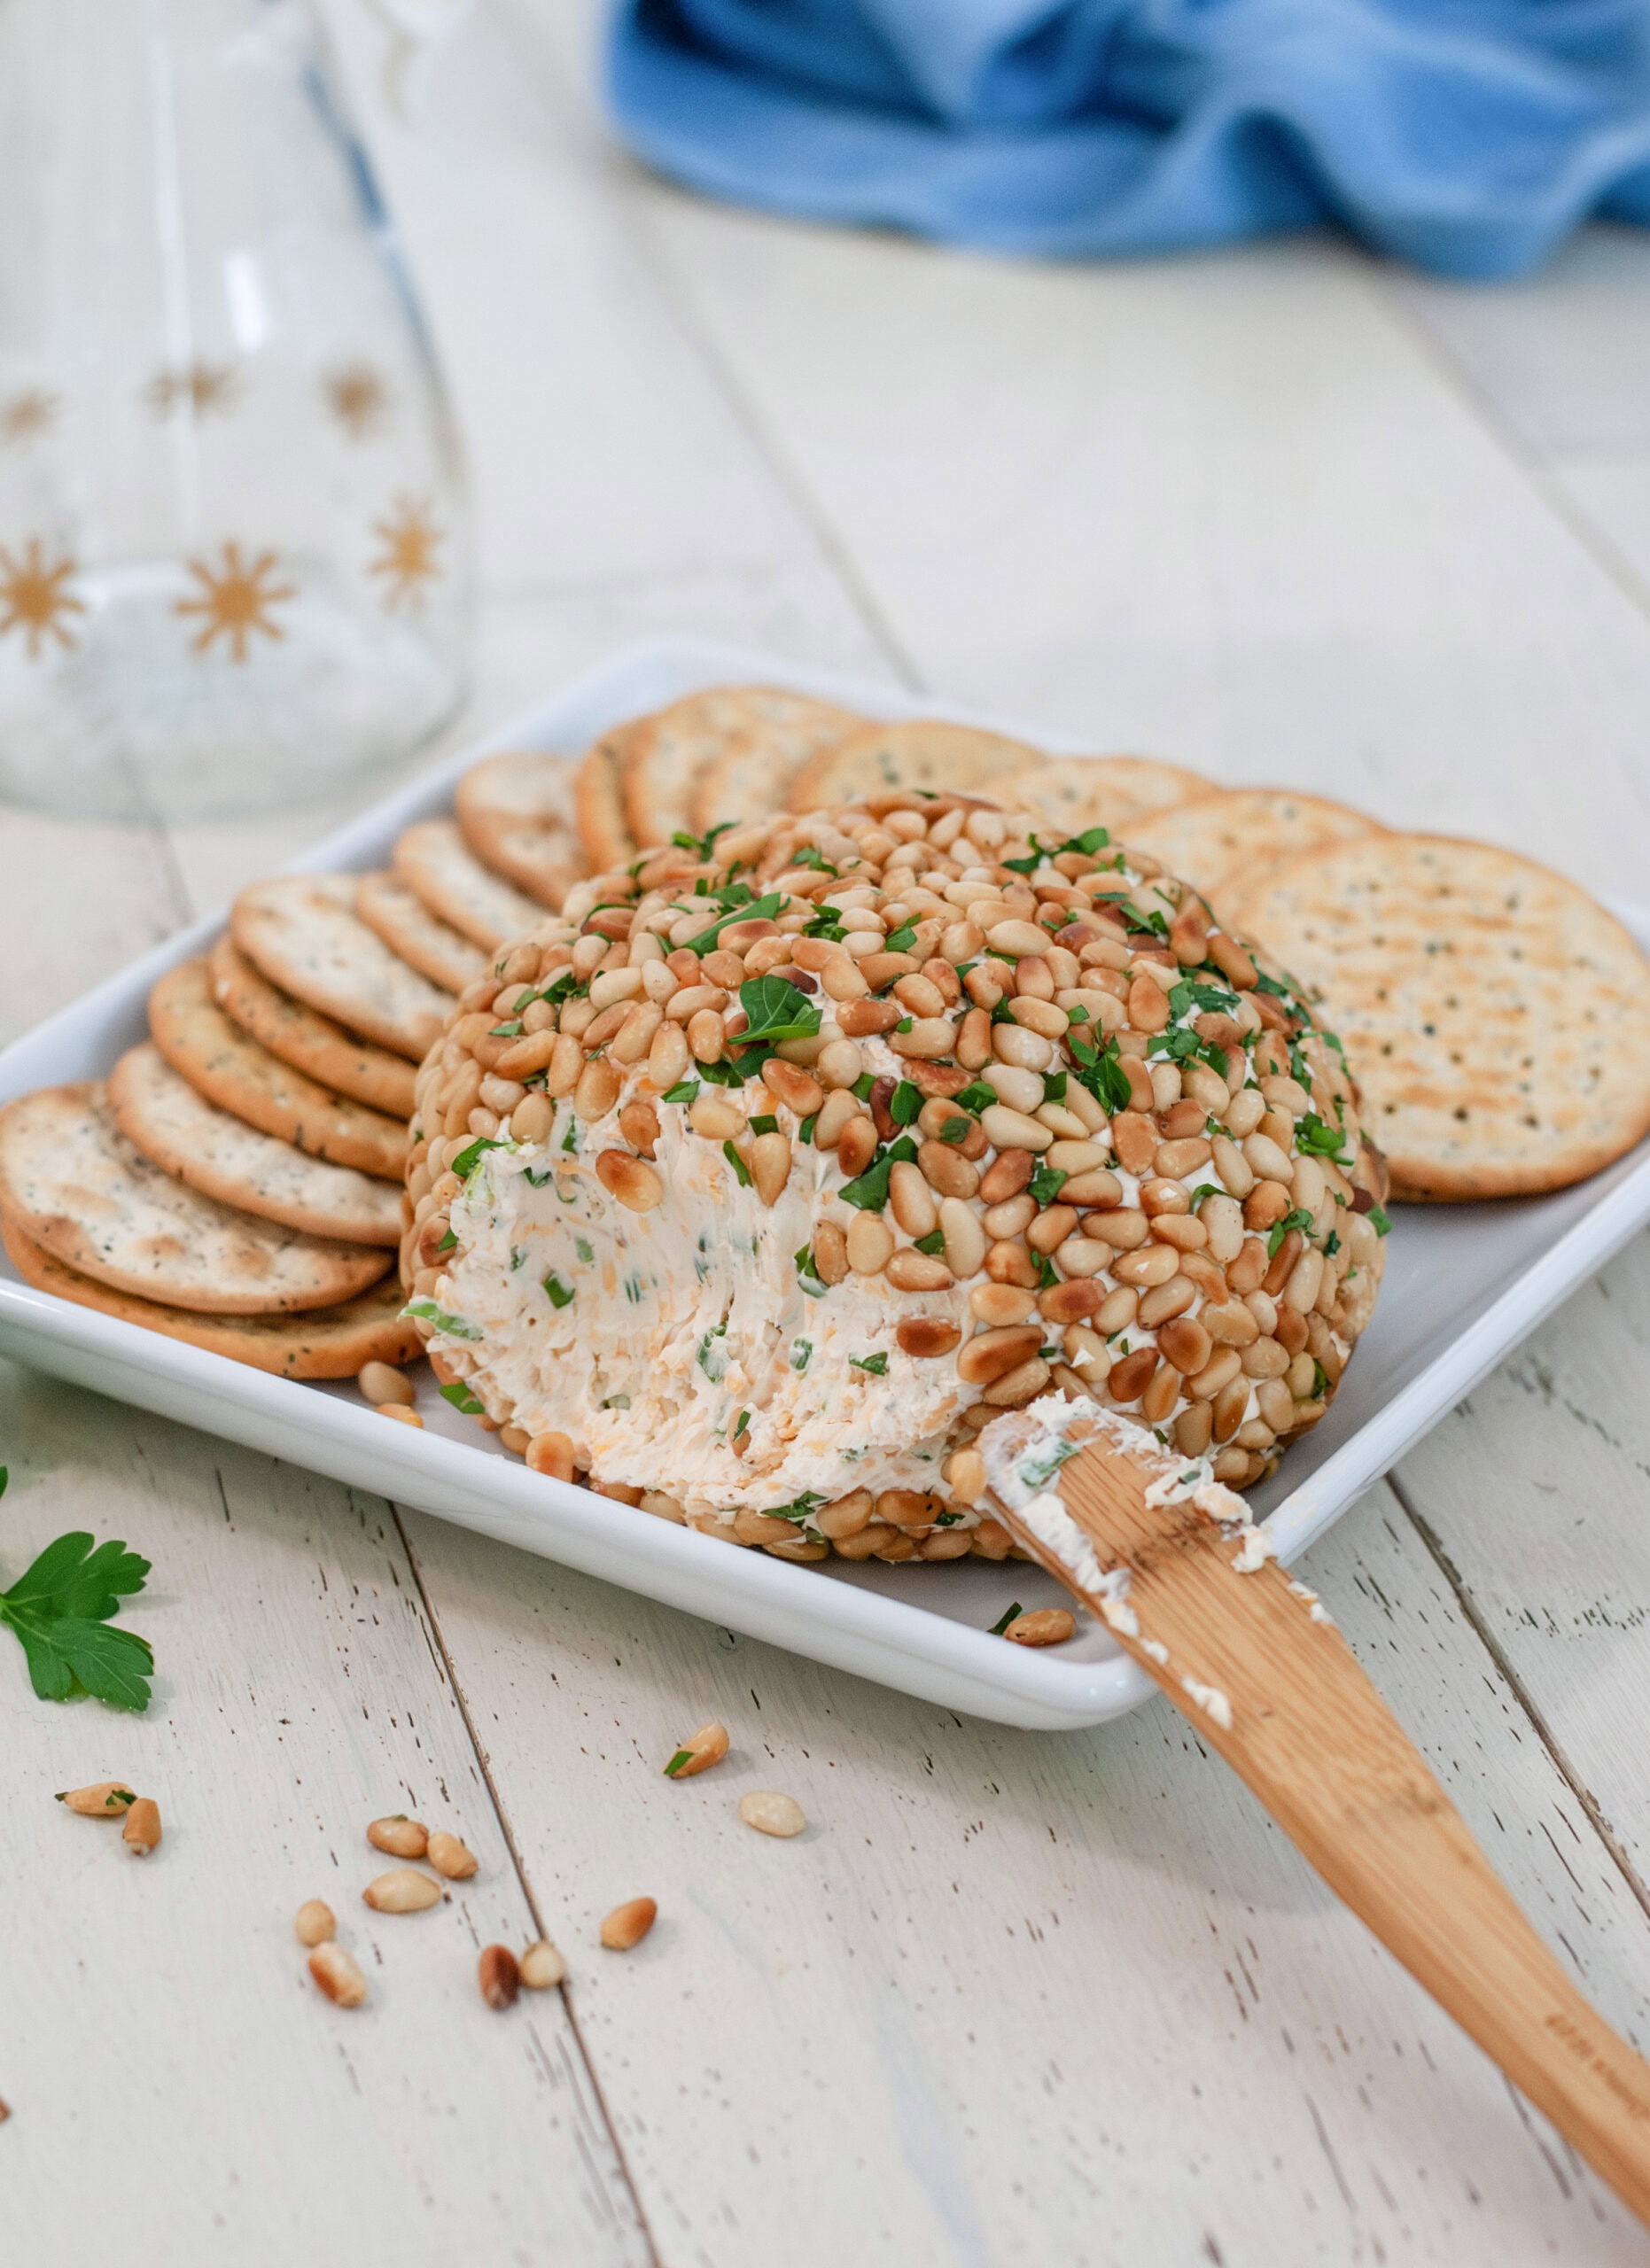
This version keeps all the nostalgic goodness of the traditional cheese ball, but it adds a delicious twist of toasted pine nuts. They bring a subtle buttery crunch that pairs beautifully with the base of cream cheese and sharp cheddar. It gives the whole appetizer a richer flavor and a little extra feel of elegance.
Why This Recipe Works for the Holidays
Whether you're hosting a large party or bringing a dish to share, this cheese ball fits right in with classic cheese balls for Christmas because it is easy, make-ahead friendly, and universally loved.
It's Make-Ahead friendly, so when holiday cooking gets chaotic, you can prepare this in advance. That makes this cheese ball a gift in the kitchen.
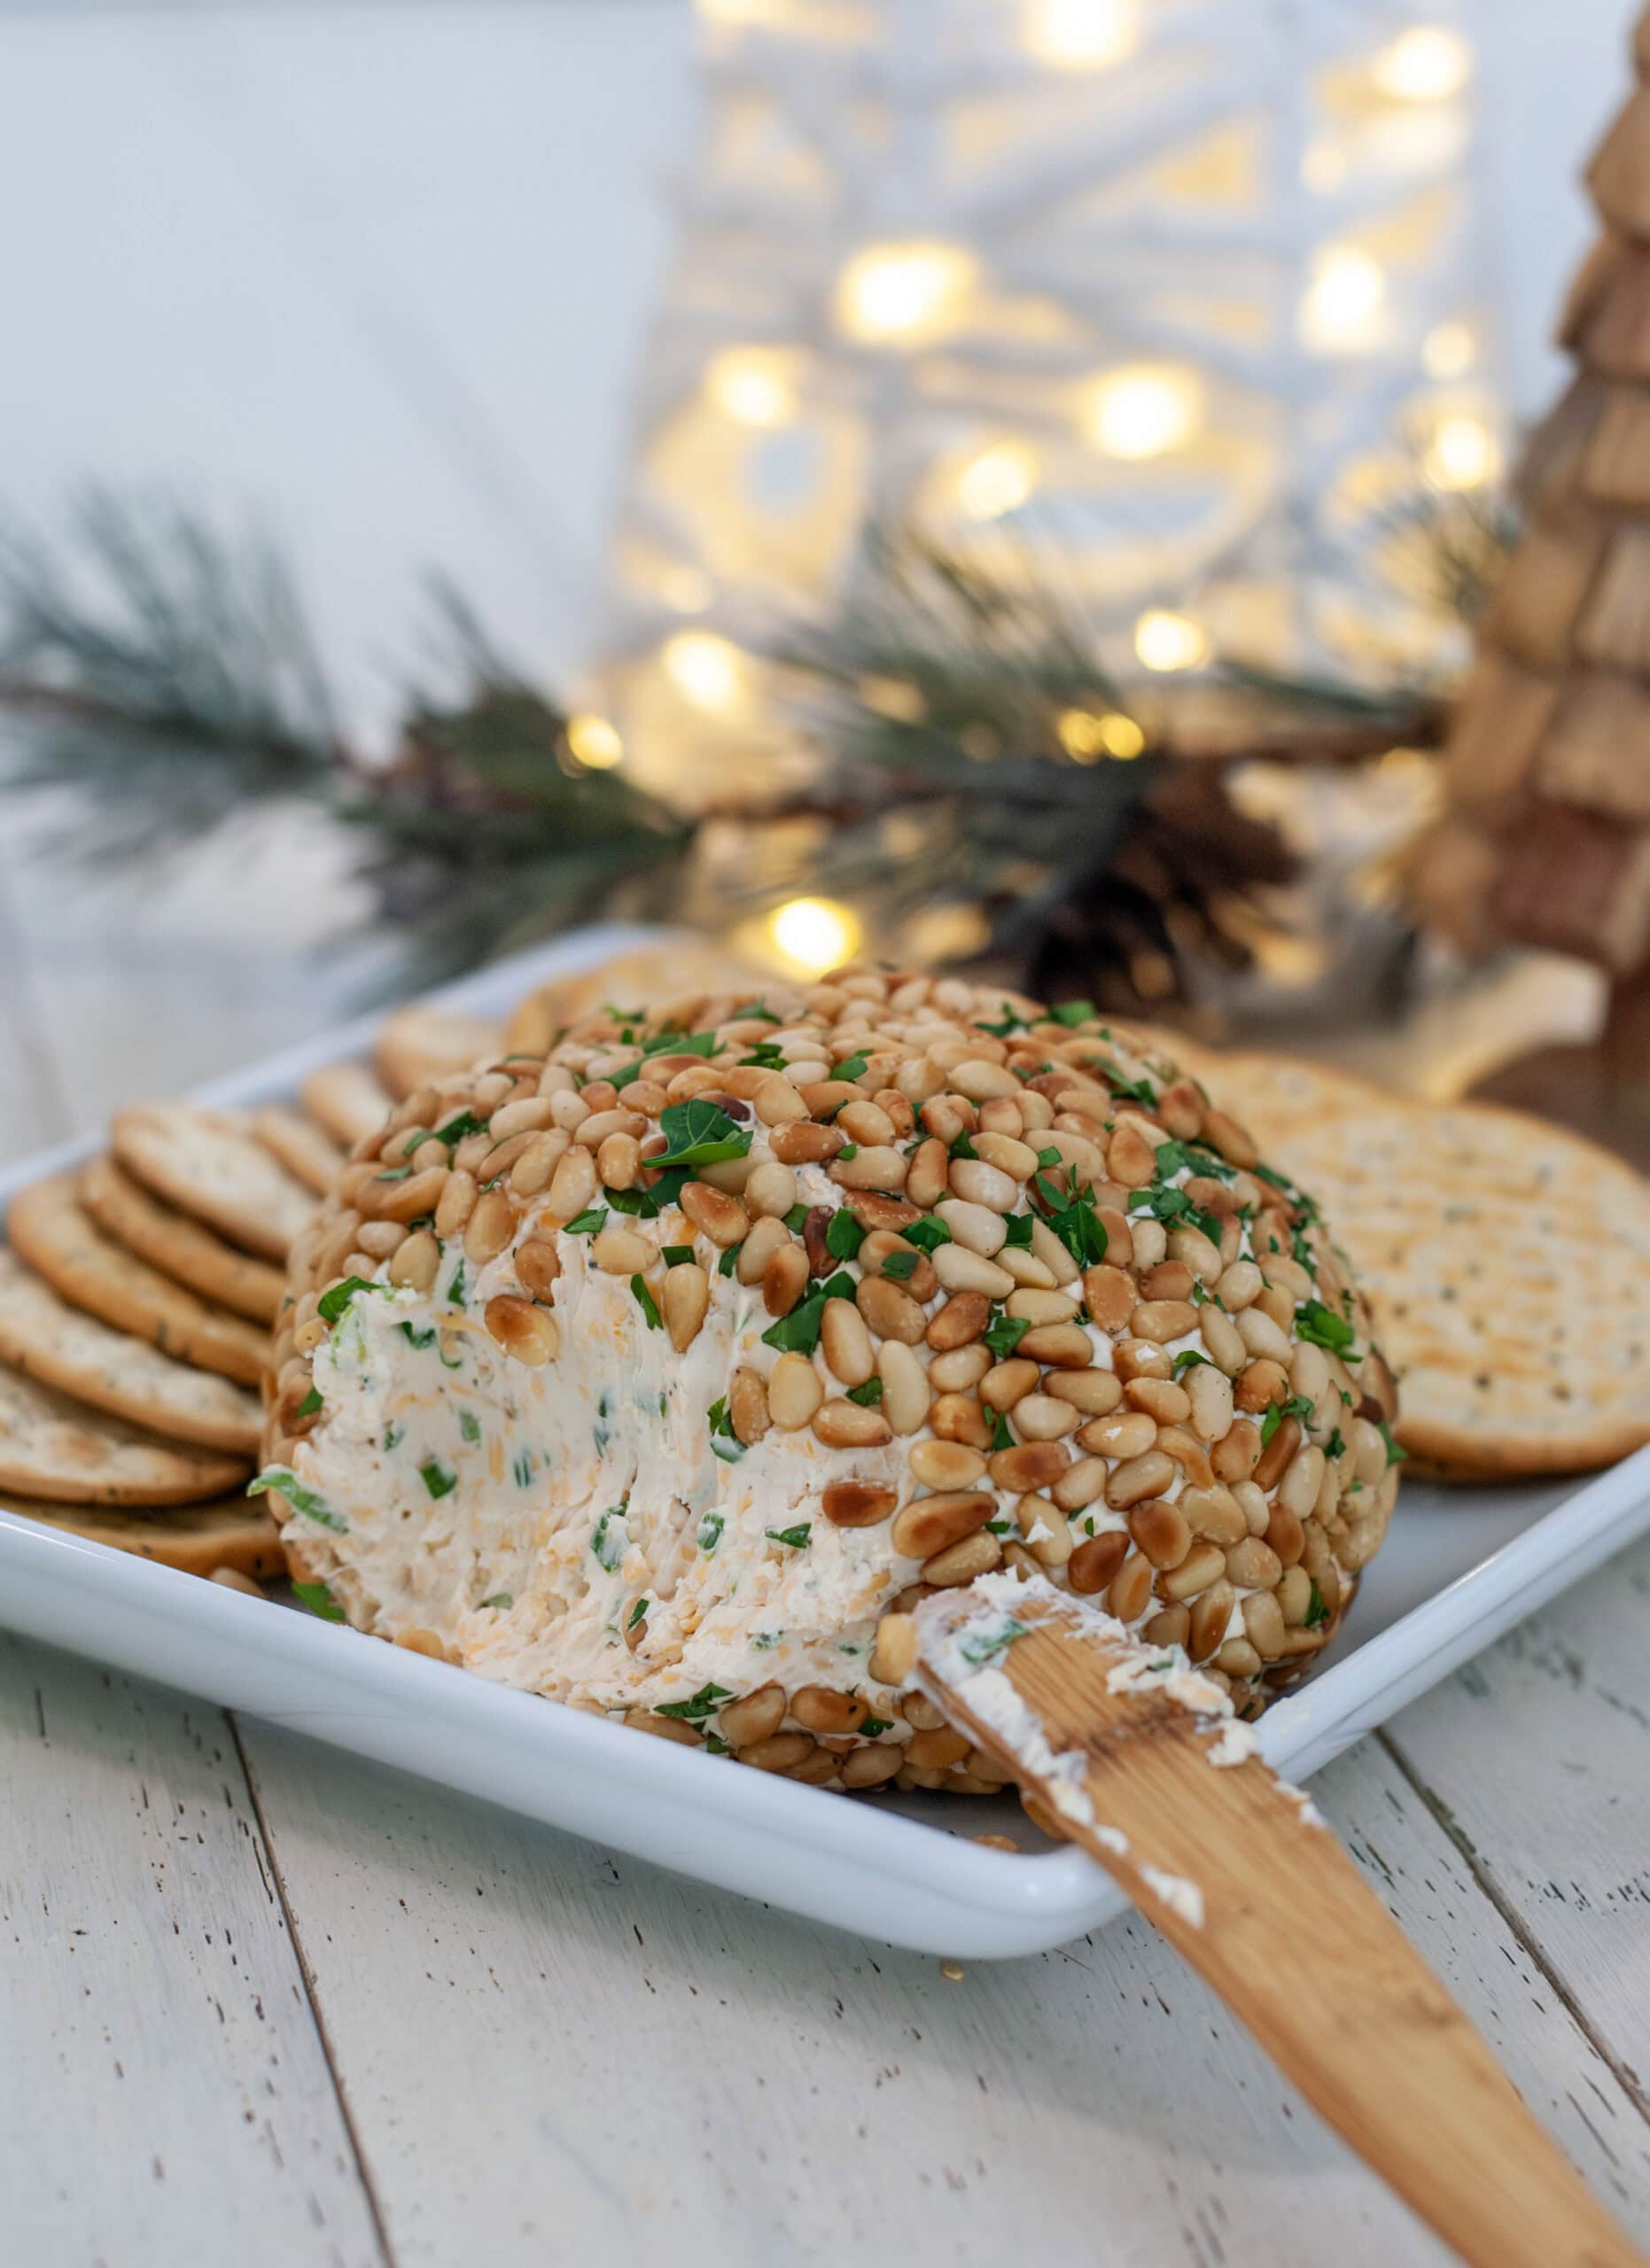
Rolled in the pine nuts, the presentation instantly becomes festive. It adds color, texture, and visual interest to any charcuterie board or appetizer table.
Jump to:
Ingredients
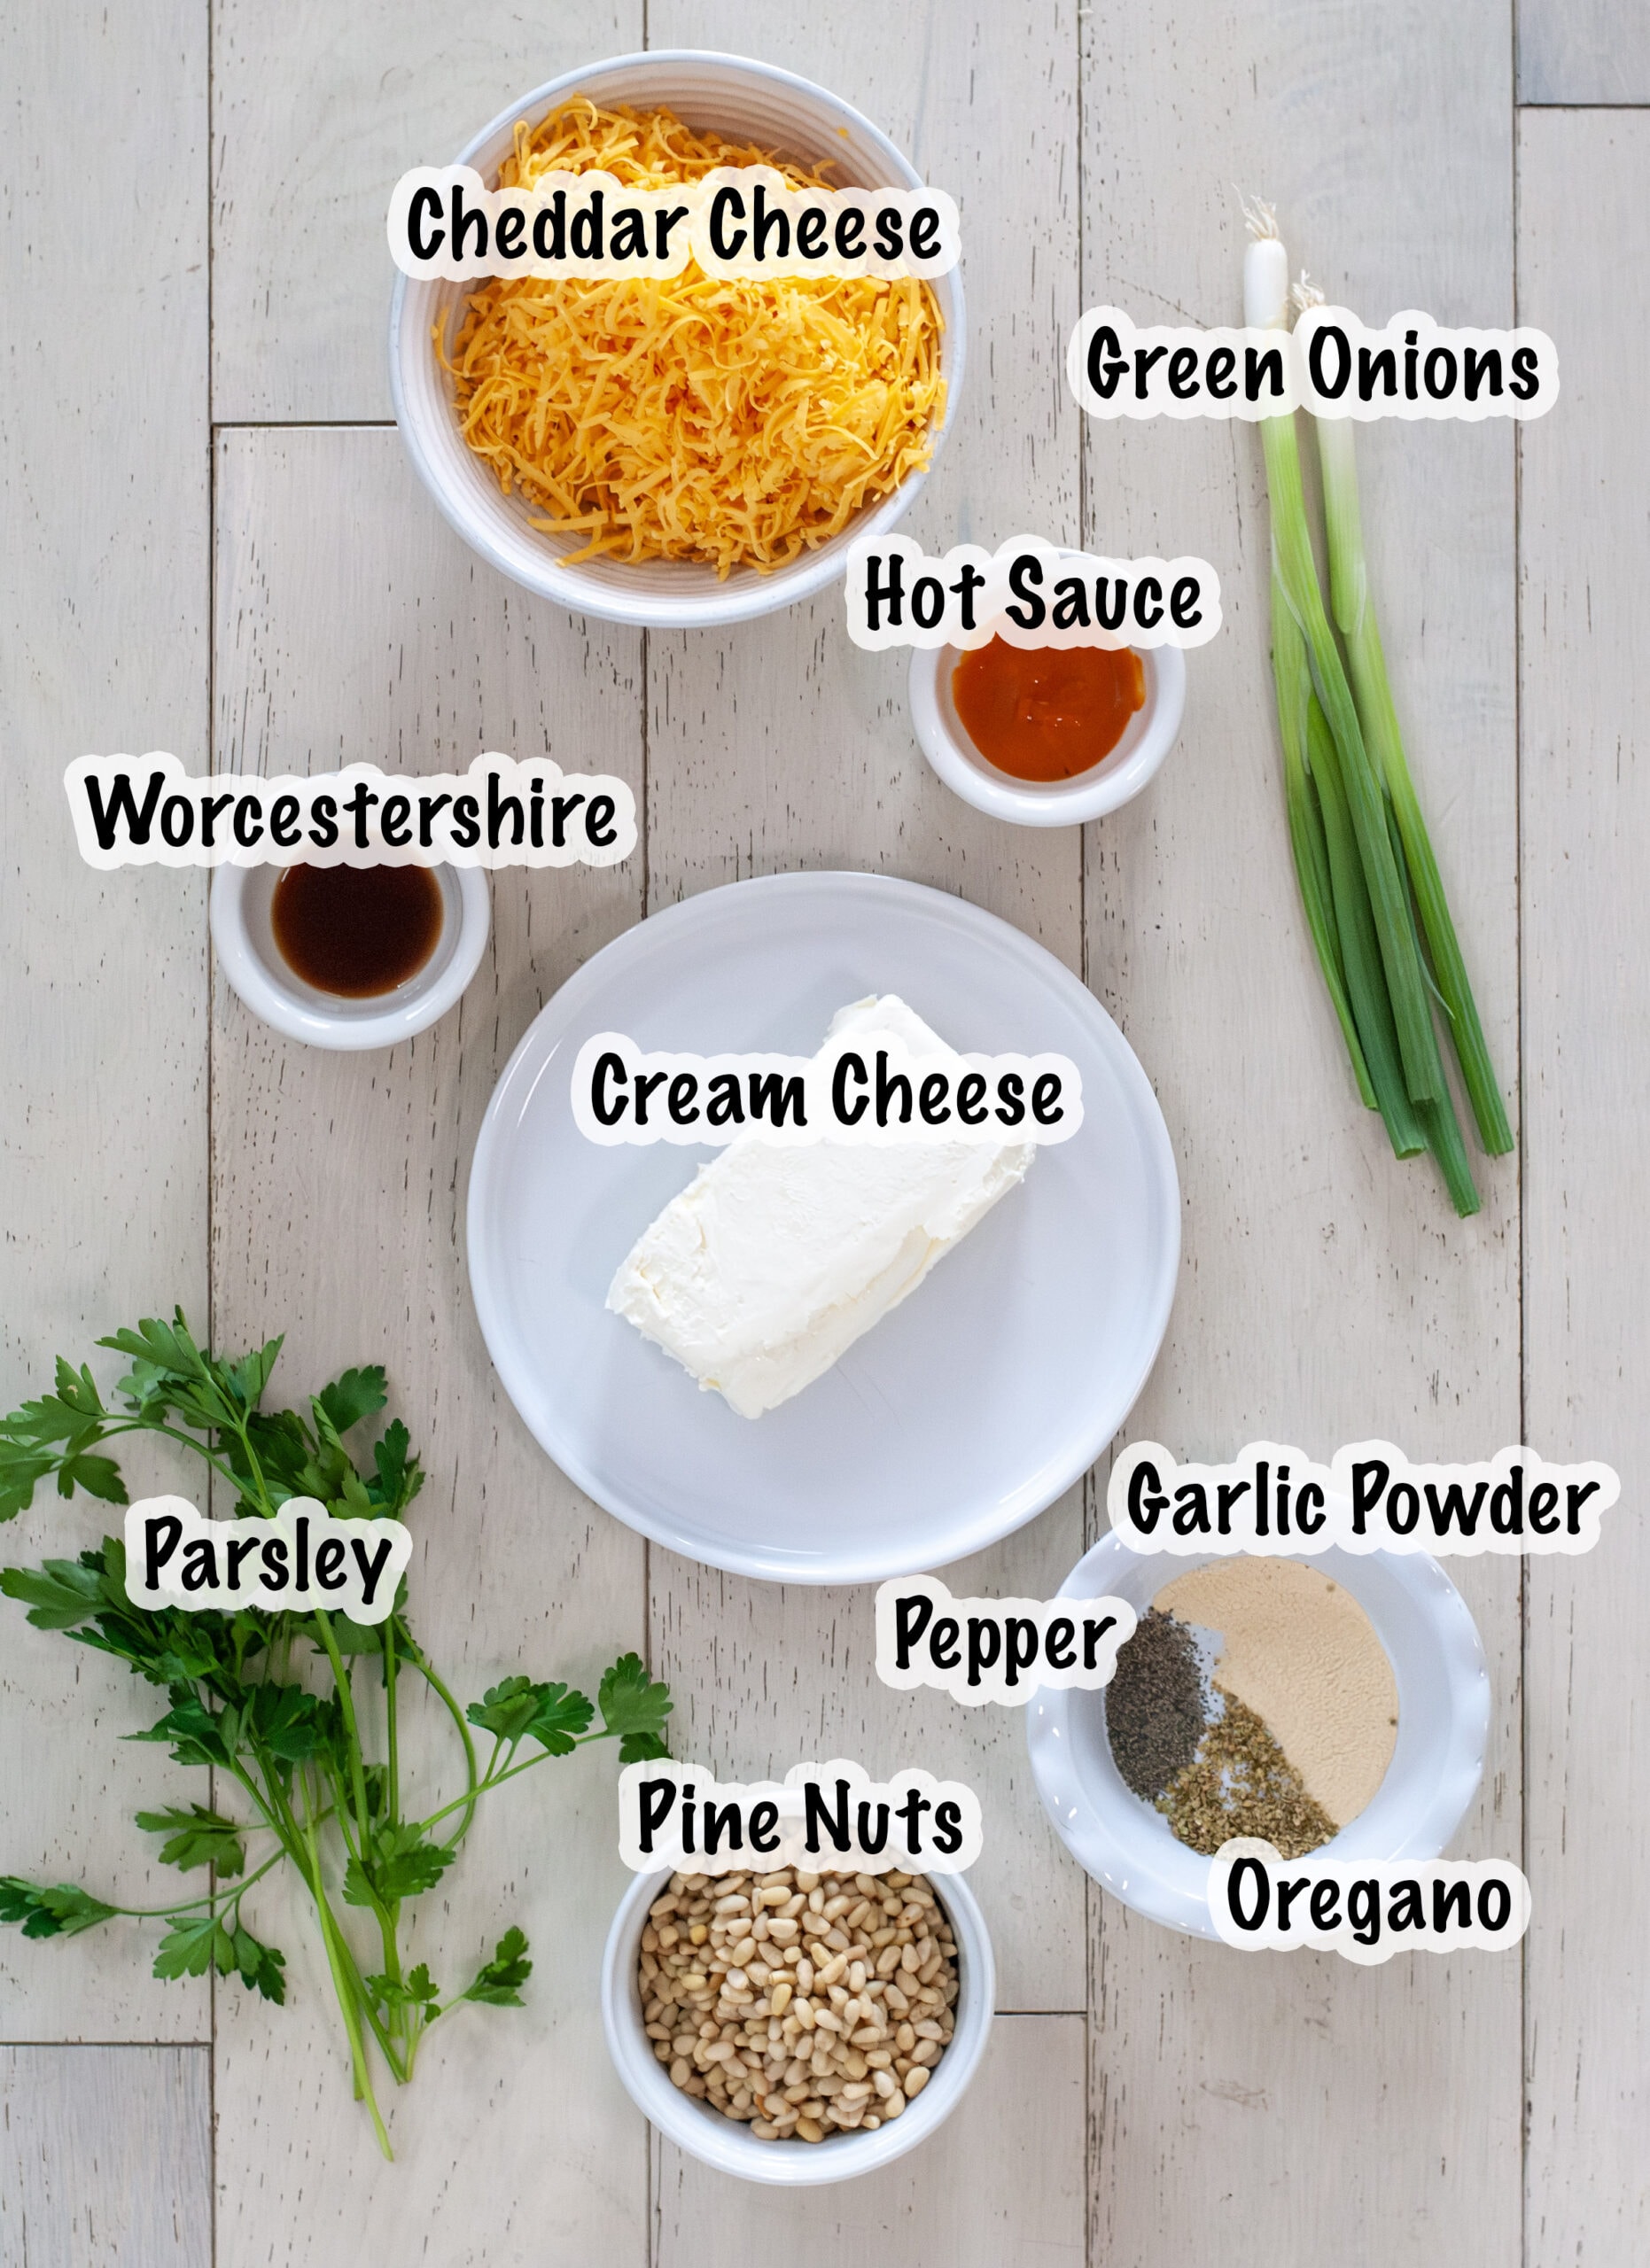
Ingredients you'll need for the Cheese Ball
- Cream Cheese: A regular full-fat cream cheese works best. It will allow it to blend well with the other ingredients.
- Sharp Cheddar Cheese: I always love to shred my own cheese.
- Green Onions: These will add a light onion flavor that makes a great complement to the cheese.
- Worcestershire Sauce: A little splash of pure comfort
- Hot Pepper Sauce:
- Parsley: Fresh Parsley works best!
- Spices: Garlic Powder, Dried Oregano, and Black Pepper
- Pine Nuts: The fun crunch to hold it all together.
Pro Tip: Make sure the cream cheese is completely softened before you mix it. This will help everything blend evenly.
See recipe card for quantities.
Step-by-Step Instructions
How to make A simple CHeese Ball
Everything you need to know is found in these easy-to-follow steps. Let's jump right into the fun part of bringing this cheese ball to life! This recipe comes together quickly, and the process is straightforward enough for anyone to follow. Just take it one step at a time, and you will have a deliciously creamy cheese ball ready to impress.
Prep Ingredients
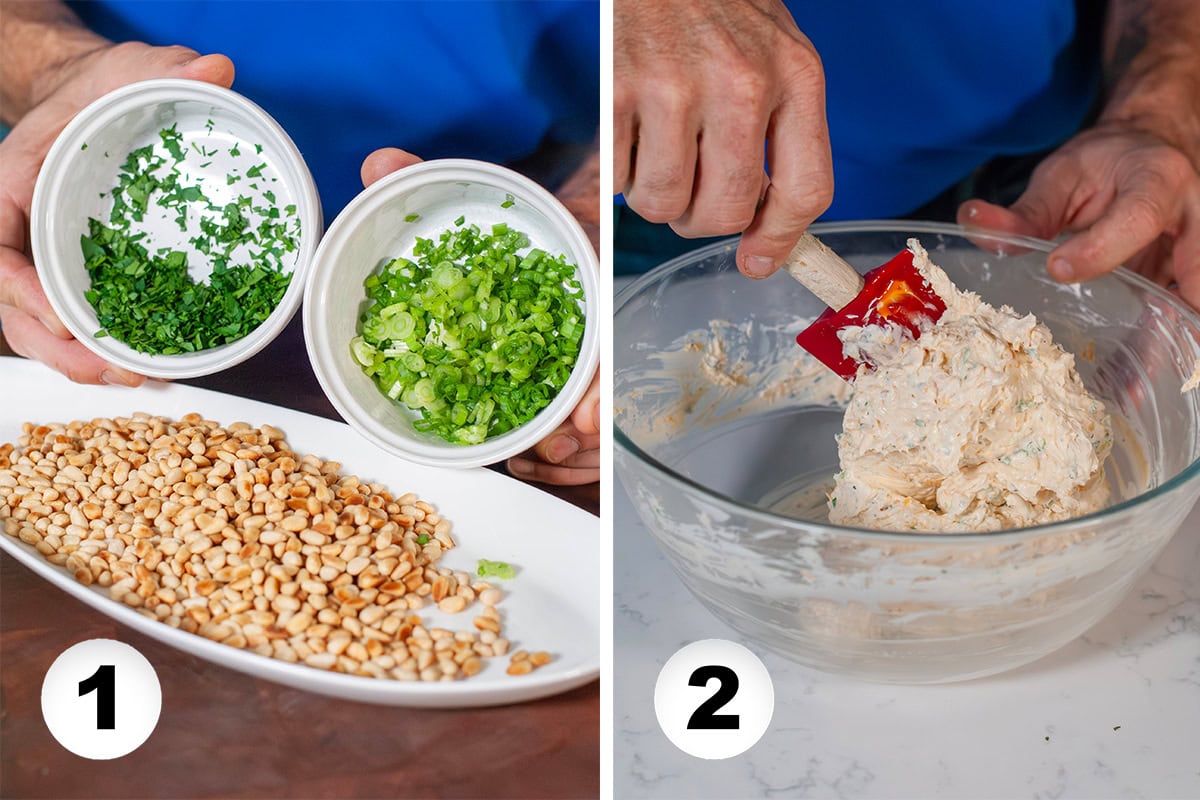
- Prep ingredients by chopping parsley and green onions (you'll use the white and green parts). If choosing to toast pine nuts, heat a skillet to a medium-high heat and toast them while continuously moving them around until golden brown.
- In a mixing bowl, use a spatula to mix together the cream cheese, shredded cheddar cheese, green onions, Worcestershire sauce, hot sauce, half of the parsley, and seasonings (salt, black pepper, and garlic powder).
Pro Tip: After being made into a ball, you can freeze the cheese for 10 minutes to make handling it easier.
Form Cheese Ball
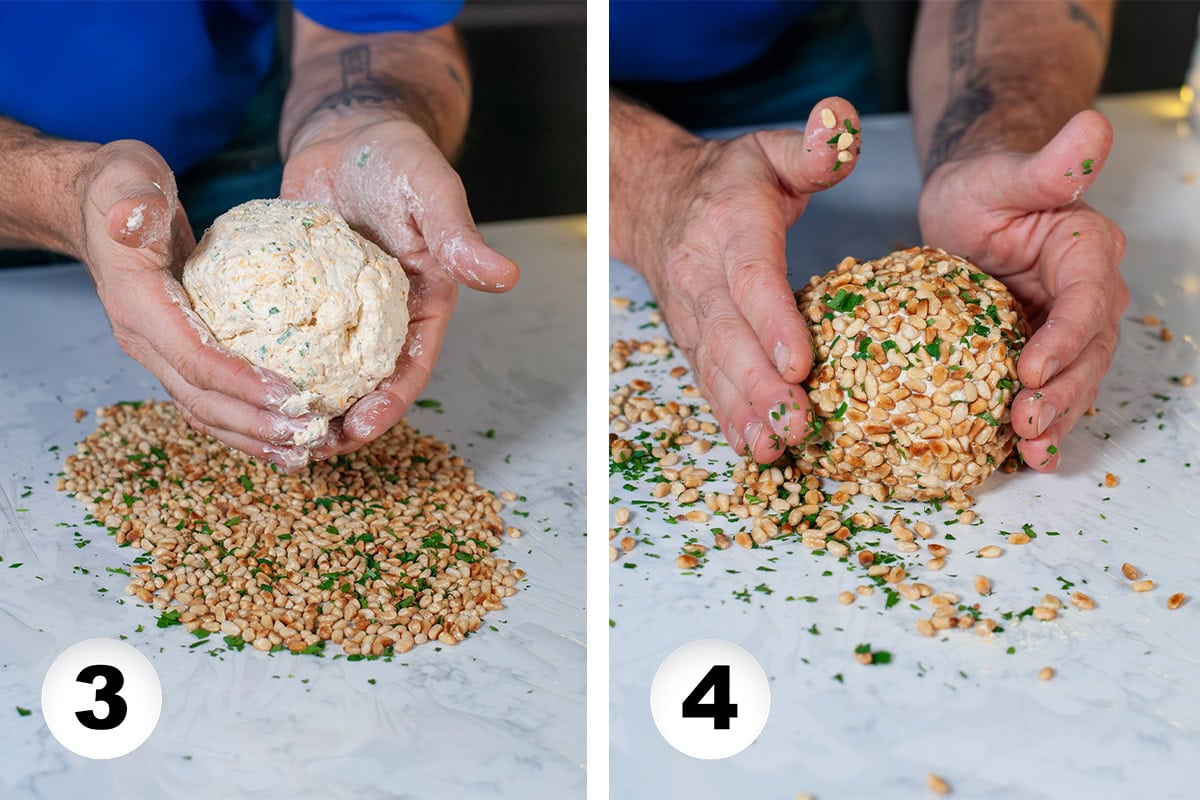
- Form your cheese ball by using the spatula to make it into a large lump. Lightly grease your hands and form the cheese mixture into a ball. Place the ball in the freezer for 10 minutes to firm it up.
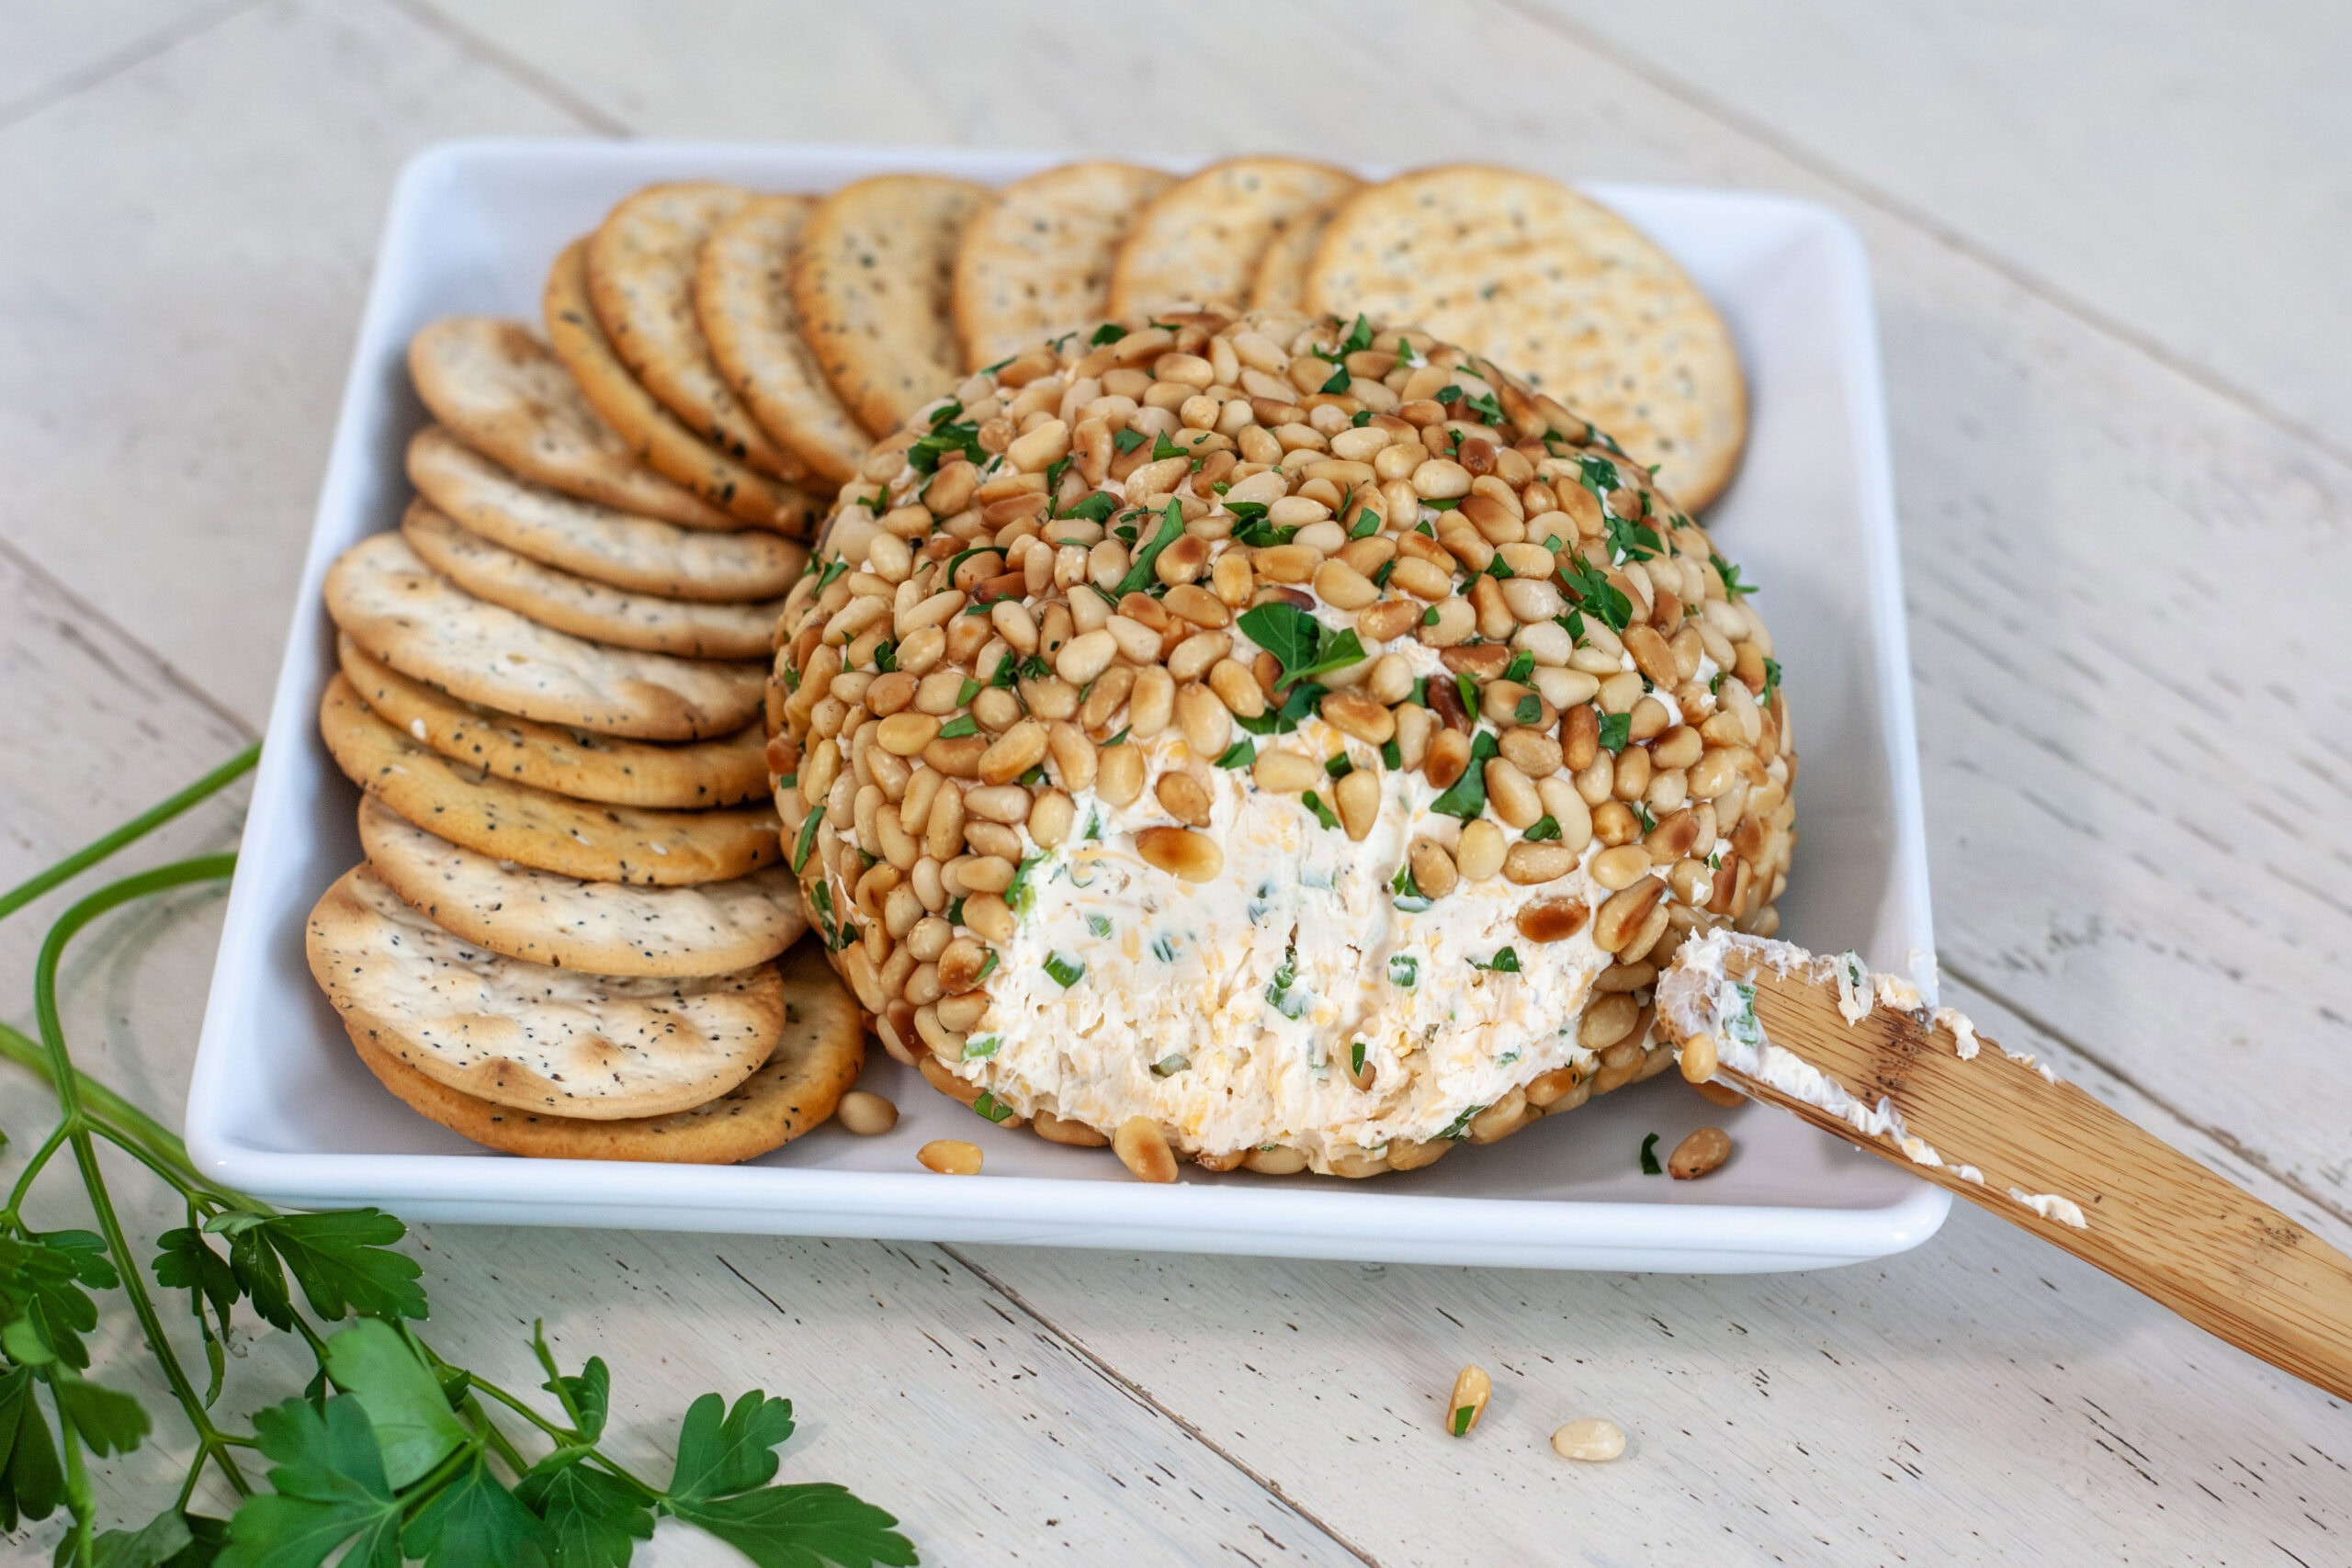
- Place the pine nuts on a large plate or on a sheet of plastic wrap. Sprinkle remaining parsley over the pine nuts. Lightly roll the cheese ball on the pine nuts to get the coating started. Use a clean hand to scoop and press the pine nuts into the bare spots on the cheese ball.
Serve Cheese Ball
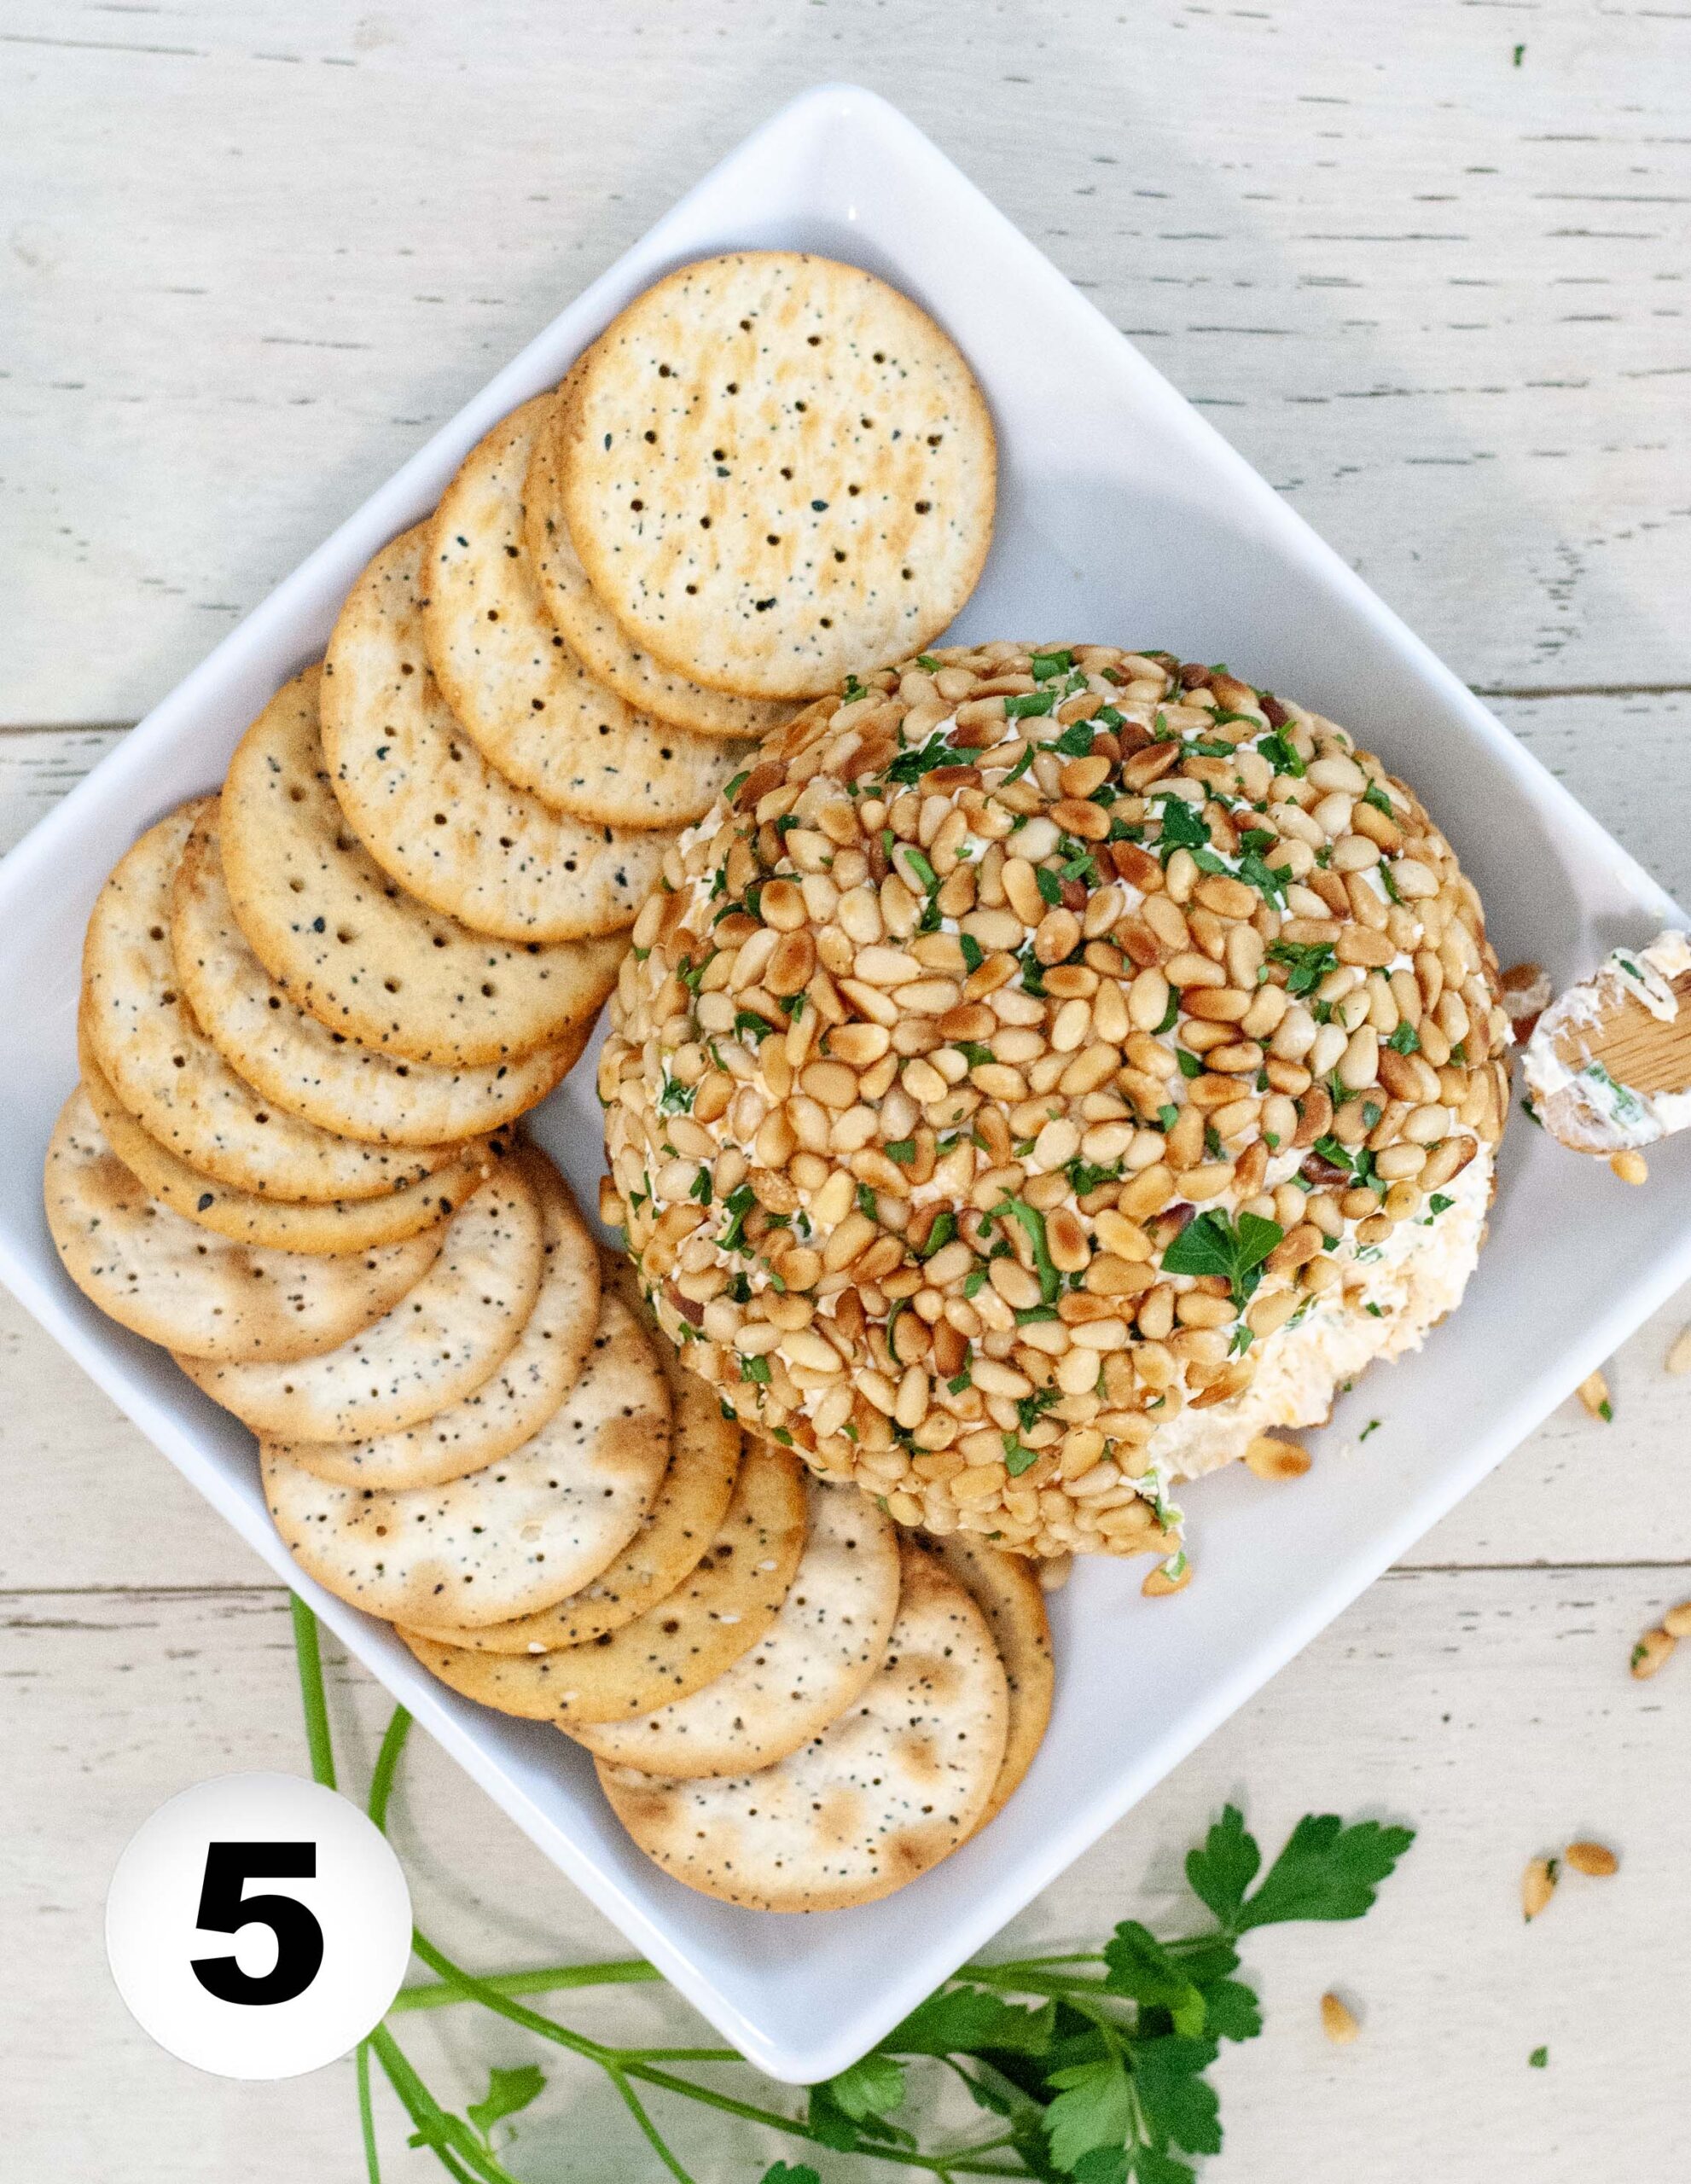
- Cover the cheese ball in plastic wrap and refrigerate for at least 1 hour (or in the freezer for 15 minutes). Serve with crackers, pita chips, or vegetables along with a spread knife for easy dipping.
Pro Tip: Use a little oil on your hands to keep the cheese from sticking to you as you roll the ball!
Made this recipe? Let me know!
Equipment and Supplies
This recipe is easy to make with just the right tools!
- Airtight Containers - I love these bowls with lids, they are the perfect size for storing this Simple Cheese Ball.
- Silicone Spatulas - I love these KitchenAid spatulas.
- Cheese Grater - I use this every day, as fresh cheese tastes so much better than prepackaged cheese.
- Misen Cookware - I love these skillets, and you can get a discount using this link!
- Spread Knife - This is a fun cheese spreading knife set that leaves you with options for any charcuterie board spread!
Serving Ideas
How to Serve this Simple Cheese Ball
- Classic Serving
- With Crackers: This is the most traditional way to serve a cheese ball. You can try a mix of buttery crackers, wheat crackers, or pita chips. This gives your guest options.
- With Vegetables: Add fresh, crunchy options like celery sticks, baby carrots, cucumber rounds, or bell peppers for a lighter option.
- Fun and Creative Serving Ideas
- On a Charcuterie Board: Place your cheese ball right on your board next to meats, olives, grapes, nuts, and crackers. It fits right in.
- Mini Cheese Balls: Roll the mixture into small, bite-sized cheese balls and coat them in different toppings. You could try nuts, bacon, herbs, or cranberries. This is perfect for a party!
Possible Swaps
- Swap the Shape: This might not be traditional, but it will be fun
- Shape it into a log for easy slicing
- Make a wreath shape for Christmas parties
- Form mini cheese balls for party boards
Cheese Balls for Christmas
Use Christmas Festive Colors. You can fold in dried cranberries or roll the cheese ball in them.
A Christmas Shape. Shape the Cheese Ball into a wreath and decorate it heavily with green onions, and top lightly with cranberries.
Possible Ingredient Swaps
- Substitute the cream cheese with goat cheese for an easy cheese variation.
- Prefer something a little sweet? You can fold in chopped dried cranberries to turn this into a holiday-worthy cranberry cheese ball.
- Swap Pine nuts for other nuts. You can try toasted pecans, almonds, walnuts, or pistachios (beautiful for Cheese Balls for Christmas).
- Swap spices to customize the Flavor. You can try mixing in Everything bagel seasoning, Ranch seasoning, Smoked paprika, or Garlic & herb blends.
Other Fun Appetizers to Share


Holiday Pairings
Oven Roasted Rosemary Potatoes | Ocean Spray Cranberry Relish | Creamy Skillet Corn | Spicy Mac and Cheese | Garlic Mashed Potatoes | Cranberry Apple Crisp | No-Bake Chocolate Pie | No-Bake Banana Pudding | Holy Smoke Chocolate Dessert | Deviled Eggs with Bacon
Storing Leftovers
Storing a cheese ball is incredibly easy, which is one of the reasons it is such a great make-ahead holiday appetizer.
Refrigerator storage: Wrap the cheese ball tightly in plastic wrap or place it in an airtight container.
It will stay fresh for up to 5-7 days in the fridge.
Freezing is not recommended: The cream cheese could become grainy after thawing, affecting the texture and flavor. It is best to serve it to enjoy it fresh within a few days.
Pro Tip: If your cheese ball is coated in nuts, it is often best to add the coating the day you serve it so they stay crisp.
Video of Recipe
Recipe

Cheese Ball
Equipment
- Mixing Bowl
Ingredients
- 16 oz Cream Cheese softened
- 2 cups Sharp Cheddar Cheese shredded
- 2 Green Onions chopped
- 1 teaspoon Worcestershire
- Hot Pepper Sauce
- 1 tablespoon Parsley freshly chopped and divided
- 1 teaspoon Garlic Powder
- ½ teaspoon Dried Oregano
- ½ teaspoon Ground Black Pepper
- ⅔ cups Pine Nuts toasting optional
Instructions
- Prep ingredients by chopping parsley and green onions (you'll use the white and green parts). If choosing to toast pine nuts, heat a skillet to a medium high heat and toast them while continuously moving them around until golden brown.
- In a mixing bowl, use a spatula to mix together the cream cheese, shredded cheddar cheese, green onions, Worcestershire sauce, hot sauce, ½ of the parsley, and seasonings (salt, black pepper and garlic powder).
- Form your cheese ball by using the spatula to make it into a large lump. Lightly grease your hands and form the cheese mixture into a ball. Place the ball in the freezer for 10 minutes to firm it up.
- Place the pine nuts on a large plate or on a sheet of plastic wrap. Sprinkle remaining parsley over the pine nuts. Lightly roll the cheese ball on the pine nuts to get the coating started. Use a clean hand to scoop and press the pine nuts into the bare spots on the cheese ball.
- Cover the cheese ball in plastic wrap and refrigerate for at least 1 hour (or in the freezer for 15 minutes). Serve with crackers, pita chips or vegetables along with a spread knife for easy dipping.
Video
Nutrition
Frequently Asked Questions
Yes, you can make this cheese ball a few days ahead. I usually wrap the cheese ball in Saran Wrap and store it in the refrigerator. I do wait to add the nuts until right before serving for crunch.
If it's too soft, chill it longer, or you might need to add a little more shredded cheese.
It can be stored in an airtight container for 5-7 days in the refrigerator.


Comments
No Comments