
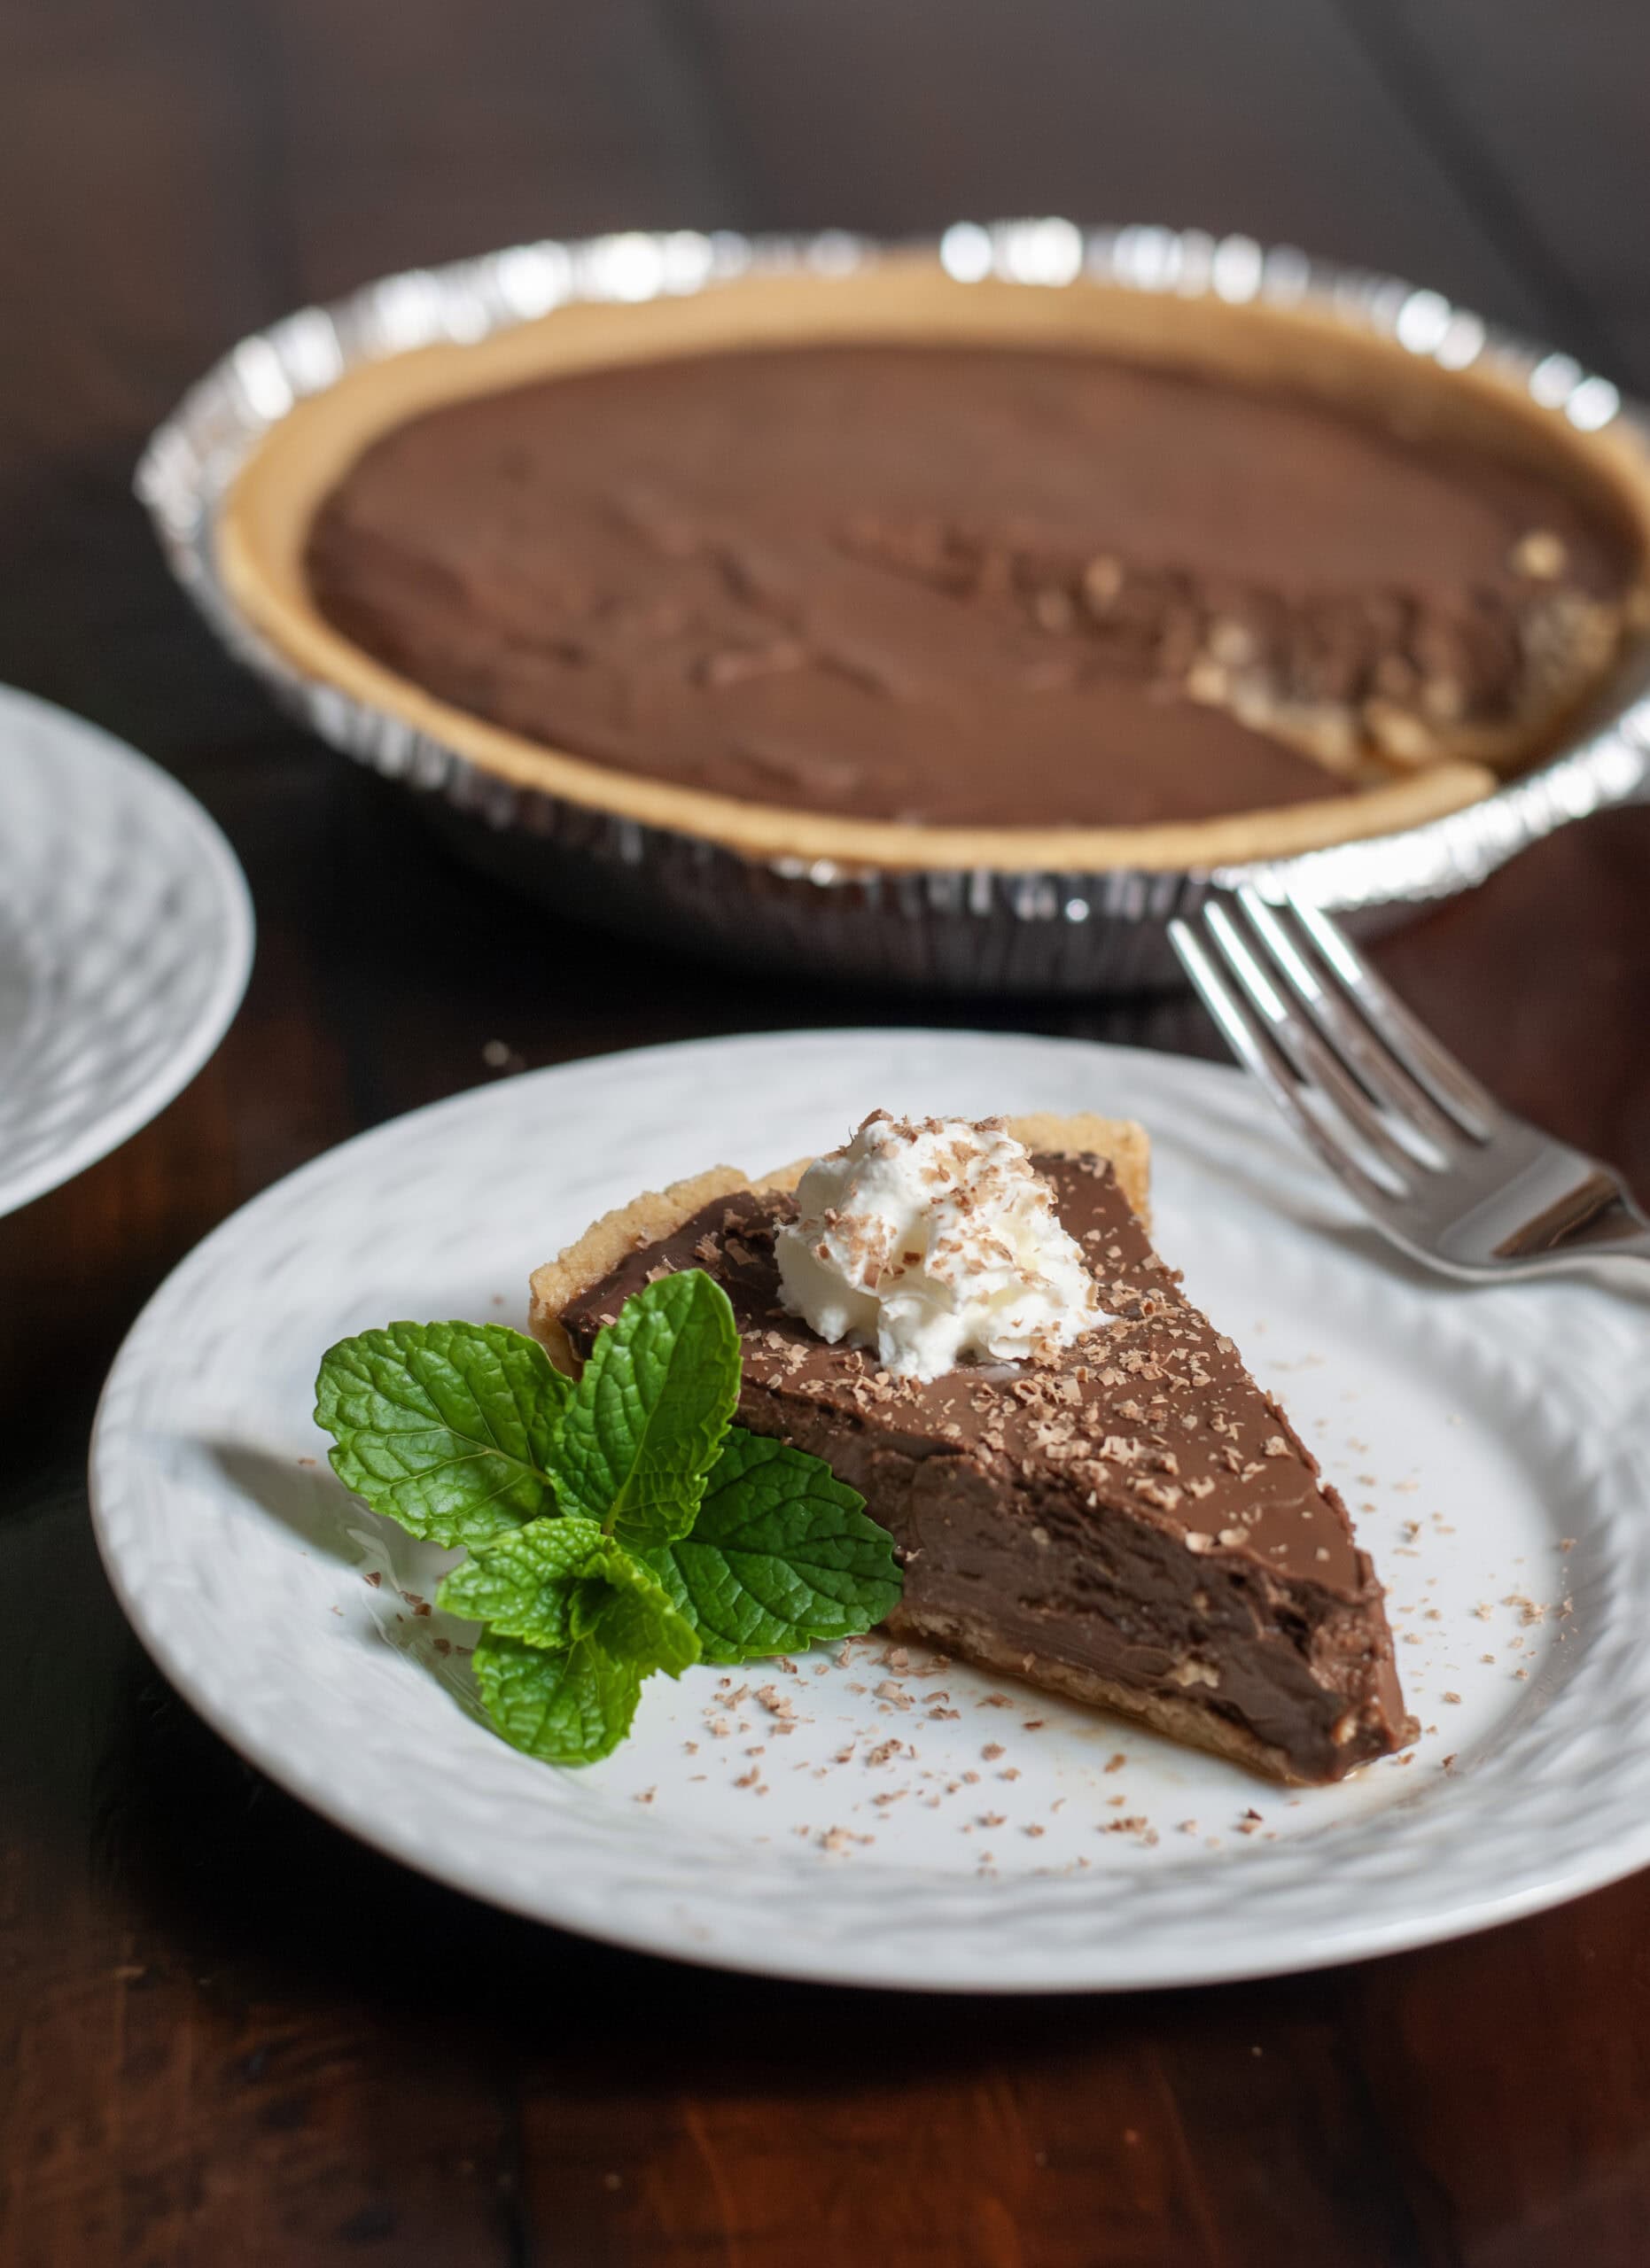
This No-Bake Chocolate Pie is a true family treasure that's been passed down and loved for its rich, velvety texture. It makes for a great make-ahead dessert with a homemade chocolate filling that's simple yet indulgent and feels like comfort in every bite.
One taste, and you'll understand why it's been a family favorite for years. I've spent a long time perfecting this for catering events and holiday meals, and now it's ready for your table! It's great paired with practically any main course meal, great for birthdays, holiday gatherings, and even potlucks. The best part is... It's a make-ahead, easy chocolate pie! Spend more time with guests and less time in the kitchen.
Jump to:
Ingredients

to make your Easy No-Bake Chocolate Pie, here's what you'll need
- Graham Cracker Pie Crust - Make your own crust or buy one already made and save yourself time! We use the Keebler 9-inch Pie Crusts.
- Sugar
- Cocoa Powder
- Cornstarch - Used to thicken the chocolate pie filling.
- Salt - Used to balance the sweetness.
- Eggs - These will be whisked and added to the chocolate filling.
- Milk - Do not use skim milk. Stick with whole or 2% milk for this recipe to ensure a creamy pie filling.
- Heavy Whipping Cream - It's important you don't choose a low-fat or fat-free cream here. The fat in the heavy cream helps keep the pie soft and smooth.
- Butter - Use salted butter. This will be added to the mixture after the boiling step. No need to melt the butter first.
- Vanilla Extract - The vanilla will add warmth and aroma to the pie. It also enhances the chocolate flavor.
- Semi-Sweet Chocolate Chips - By choosing a semi-sweet chocolate chip, it will melt smoothly while keeping a balance to the pie that's not too sweet in flavor.
See recipe card for quantities.
The Pie my brother created
This pie came from my older brother, David. He is an amazing home chef and loves cooking for his family. We were working together in a restaurant in Chattanooga, and one night, wanting something sweet, he created this pie on the spot! The result was so good that it was added to the menu, and we are still cooking it today! This pie has graced many holiday meals at the Clowers' home!
Step-by-Step Instructions
How to make the Best Chocolate Pie!
Everything you need to know is found in these simple steps. After making the velvety chocolate filling, you simply pour it into a crust, refrigerate, and serve the next day! No baking needed.
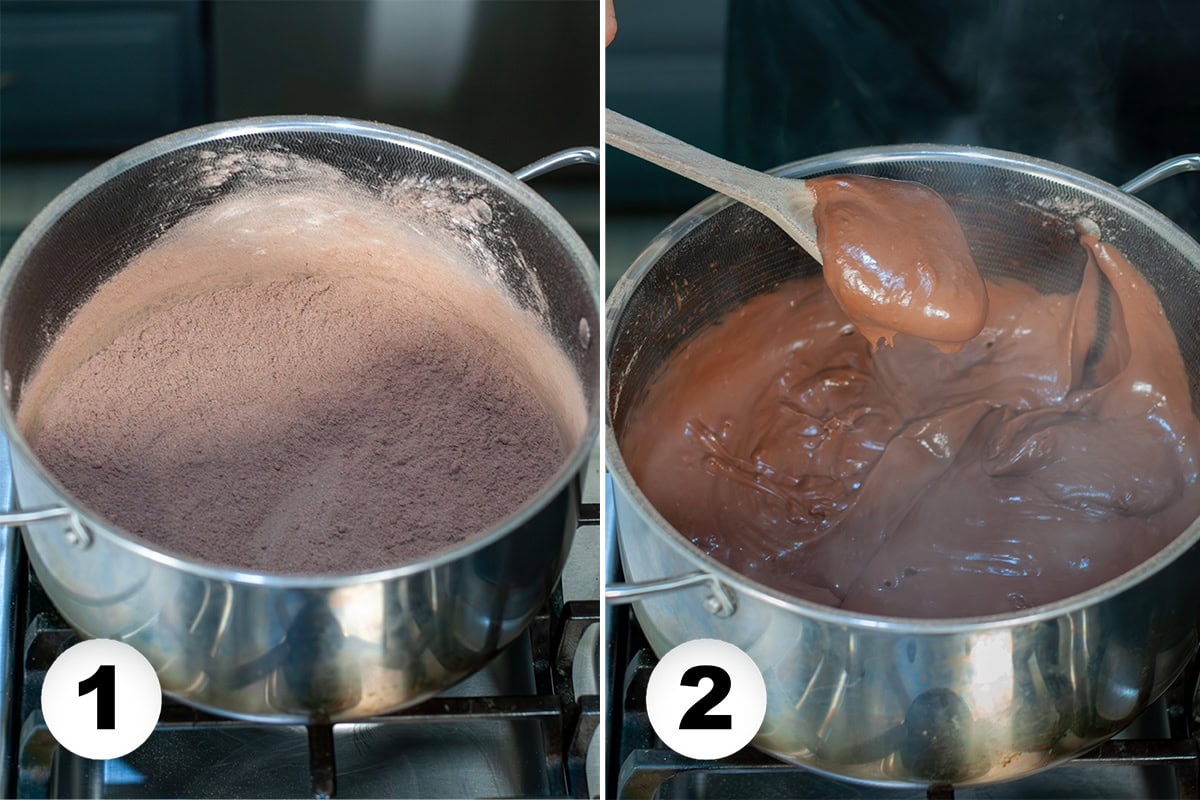
- In a large pot with the heat turned off, whisk together sugar, cocoa powder, cornstarch, and salt.
- Add in eggs, milk, and heavy cream while whisking continuously. Turn on the heat to medium and stir constantly. Bring to a boil and cook for 1 minute. Then remove from the heat.
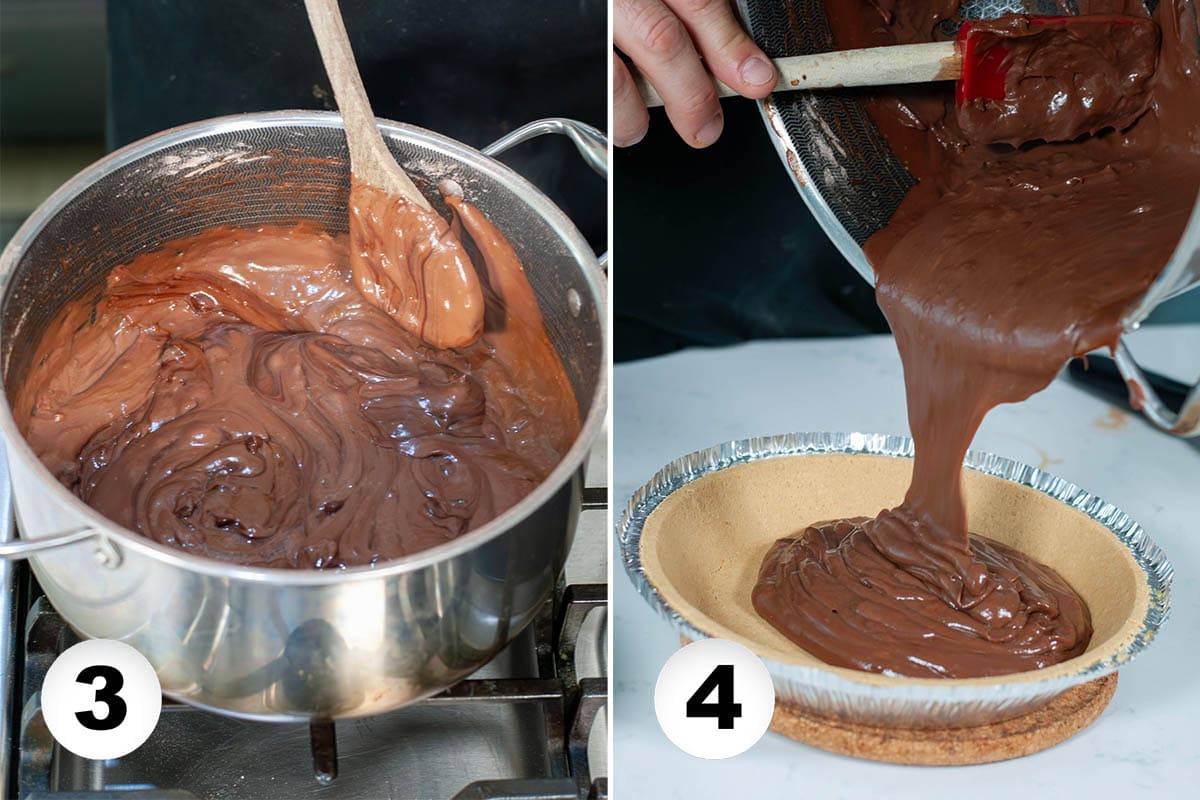
- Whisk in butter, vanilla extract, and semi-sweet chocolate chips until smooth. No need to use melted butter here. It will melt in the mixture.
- Pour the mixture into the pie crust and allow it to cool to room temperature (20-25 minutes). Do not overfill. Cover and place in the refrigerator overnight or for at least 8 hours.
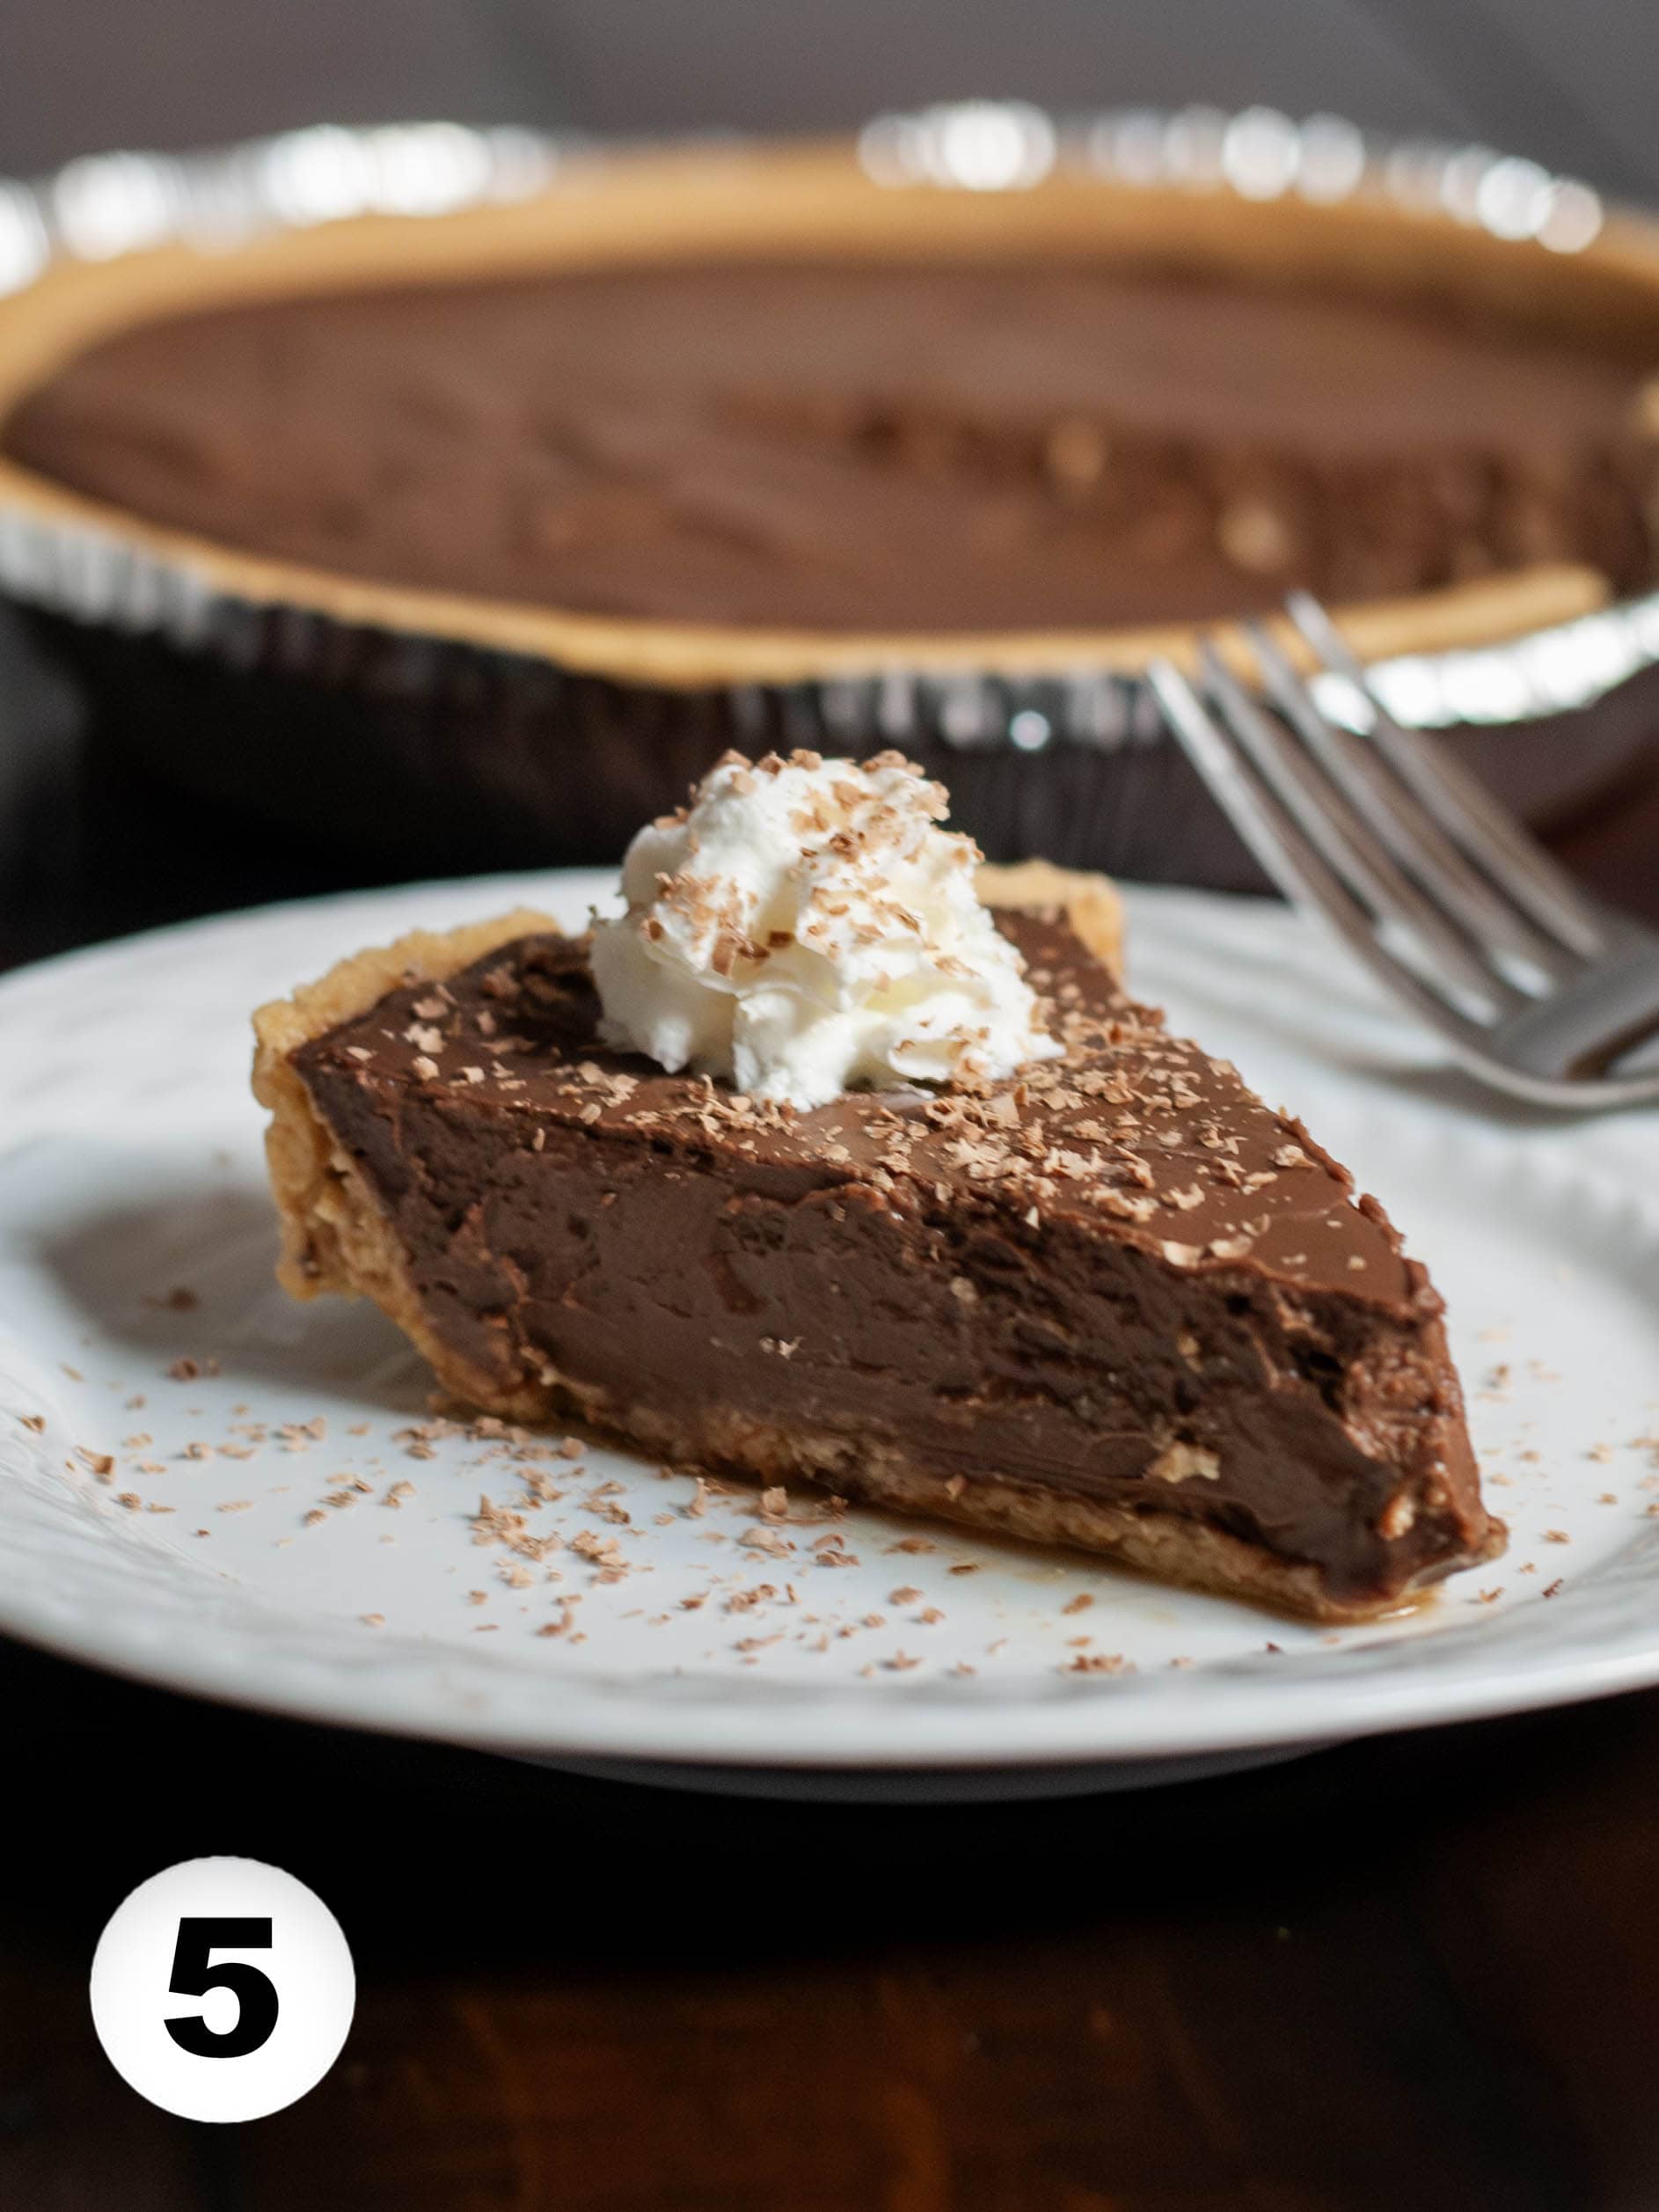
- Serve cold with whipped cream and shaved chocolate (optional).
Made this recipe? Let me know!
Equipment and Supplies
- Flint and Flame Knives - These are the everyday knives that I love! Use code ChefTim40 for 40% off your set.
- Large Stock Pot - Hexclad Pots are the best on the market. Click the link for 10% off your next purchase.
- 9 Inch Pie Crusts - Can't go wrong with Keebler! We use 9-inch pie crusts, but it's also fun to use the minis and make a bunch of tiny pies for guests.
- Mini Pie Crusts - A fun alternative for serving the pie. Great for potluck gatherings and large parties of any kind.
Serving
How to Serve Chocolate Pie
- Slices and Mini Pies - You can get 6-8 slices of pie out of a 9-inch pie crust. Serve them by the slice or pour the chocolate pie mixture into mini pies for a fun alternative! Mini Pies are great at catering events because they make an easy grab-and-go dessert option.
- Garnish Ideas - Serve with chocolate shavings or chocolate curls, dust the slices with cocoa powder, or top with fresh raspberries or strawberries. We've also served this with crushed pecans or almonds to add a crunchy texture to each bite.
- Chocolate Pie Pairings - Pairs great with coffee, espresso, or milk. Also goes great with red wine!
How to Serve a Holiday Chocolate Pie
- Holiday Pairings - Serve with hot cocoa or spiced holiday drinks like eggnog. Consider serving with flavored whipped creams like peppermint, pumpkin, or caramel.
- Serve with Fruits in Season - If serving for Thanksgiving or Christmas, top with pomegranate seeds, sugared cranberries, or raspberries. Serving during the summer? Serve alongside slices of banana or with pineapples and mango slices. An orange-inspired chocolate pie is also tasty! Top with orange zest and serve with mandarin orange slices.

Storing Leftovers
How to store leftover Chocolate Pie
REFRIGERATING. A chocolate pie that's cream-based, like this one, should always be kept cold. Cover it loosely and refrigerate for up to 4 days. If you've topped the pie with whipped cream or fruit, remove those before storing it in the fridge.
FREEZING. Wrap tightly with plastic wrap or place in a freezer-safe container. Freeze without toppings for up to 2 months. Thaw overnight in the fridge and add fresh toppings when serving.
More Desserts
- Chocolate Lava Cake in the Slow Cooker
- Holy Smoke Chocolate Dessert
- Monster Cookies
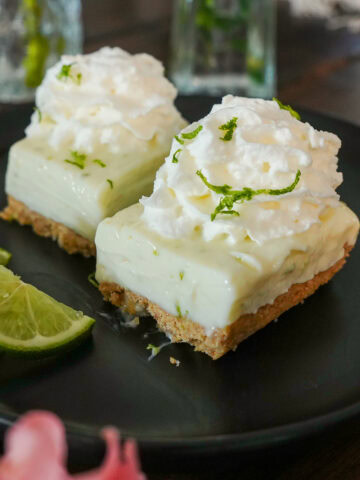
- No-Bake Lemon Cheesecake
Frequently Asked Questions
No, not for this recipe. The heavy cream is what makes it thick and luxurious!
Absolutely, you can! Either one will work wonderfully, just follow the directions for preparation.
Video of Recipe
Recipe

No-Bake Chocolate Pie
Equipment
- Large Pot
- 9 Inch Pie Crust
Ingredients
- ¾ Cup Sugar
- ¼ Cup Cocoa Powder
- ¼ Cup Cornstarch
- ⅛ teaspoon Salt
- 1 Egg whisked
- 2 Cups Milk
- 1½ Cups Heavy Cream
- 2½ tablespoon Butter
- ½ tablespoon Vanilla Extract
- 6 oz Semi-Sweet Chocolate
- 1 9 Inch Graham Cracker Pie Crust
Instructions
- In a large pot with the heat turned off, whisk together sugar, cocoa powder, cornstarch, and salt.
- Add in eggs, milk, and cream while whisking continuously. Turn on the heat to medium and stir constantly. Bring to a boil and cook for 1 minute. Then remove from heat.
- Whisk in butter, vanilla extract, and semi-sweet chocolate chips until smooth.
- Pour mixture into pie crust and allow it to cool (15-20 minutes). Do not over fill. Cover and place in the refrigerator overnight.
- Serve cold with whipped cream and shaved chocolate (optional).
Casey L says
This was a hit! Thanks for the recipe! Loved that I could make it ahead of time.
Sandra says
I have always made the cooked custard chocolate pie that you have to stir over the hot stove for 30. This is a great alternative!
CookitwithTim says
Yeah this is a lot faster! Let me know how it goes when you try it!
Janet says
WOW! This pie was so delicious we made it 2 days in a row. First time with graham cracker crust. The next day we only had regular flour pie shell but it was just as delicious. Make it…you won’t regret it!!!!
CookitwithTim says
Thanks Janet. This pie has been one we have been making for years and it was on the menu in our catering business for years.
Kristine says
For our personal tastes it's too bitter, not sweet enough. My husband says it tastes like brownie batter. We will probably go back to an old school custard style recipe with more sugar/sweetness, as I think most adding more sugar to this recipe may throw off the consistency.
CookitwithTim says
Hey Kristine! This family recipe isn't meant to be too sweet, but you can definitely add more sugar (or brown sugar) and it won't change the consistency.
Janet says
This pie was delicious! So easy to make. The chocolate pie was such a hit we made 2 this weekend!
CookitwithTim says
Thanks Janet
Kyle Kay says
This no-bake chocolate pie was unbelievably good. Rich, smooth, and way easier than it has any right to be. Tastes like something you’d get at a family holiday gathering—comforting, nostalgic, and a guaranteed crowd-pleaser.
Mary says
Made it for Thanksgiving. Easy recipe to follow. It was a hit!
CookitwithTim says
Woohoo!! Glad to hear it! Easy-to-follow is always a plus! Thanks Mary!