
These Honey Garlic Chicken Fingers are crispy on the outside, tender and juicy on the inside, and coated in a delicious sweet and savory honey garlic sauce. They are easy to make, full of flavor, and make a family-friendly dinner everyone will love!
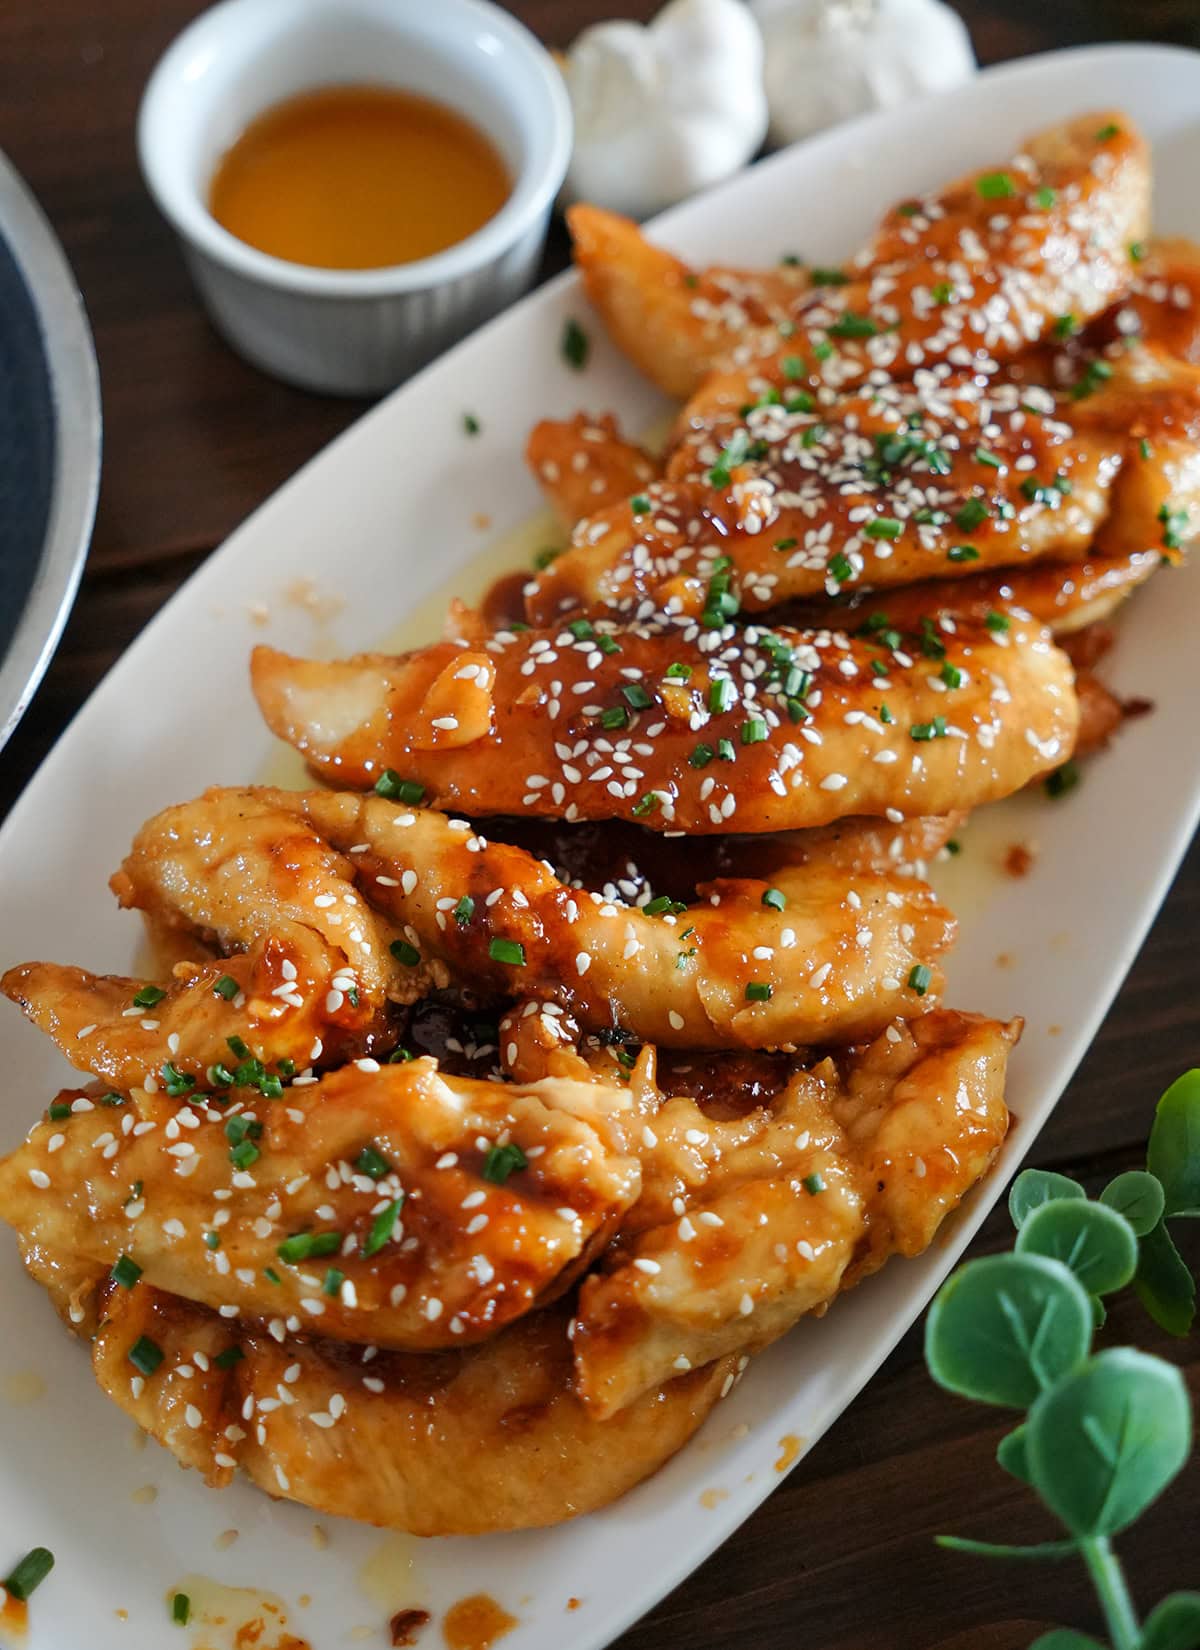
These Honey Garlic Chicken Fingers came about when we wanted an easy chicken dinner that was a little different from traditional chicken tenders. I took crispy, pan-fried chicken tenderloins and tossed them in homemade honey garlic sauce that is sweet, savory, and packed with fresh garlic.
This recipe works for the whole family. The chicken is crispy on the outside and tender on the inside. The honey garlic sauce gives it that extra flavor that makes my kids want a second piece for sure. It is an easy weeknight dinner, but is good enough to serve when you are feeding friends or family.
If you like these easy chicken fingers, be sure to try some of our other delicious chicken recipes, including baked chicken legs and crispy chicken tenders.
Reader Review: "This recipe was so delicous and easy! The sauce tasted so good." - Pamela
Why You'll Love This Recipe
- Sweet and Savory: Honey and soy sauce create the perfect balance of flavors.
- Easy Homemade Sauce: You only need a handful of ingredients to make this honey-garlic sauce.
- One-Skillet Finish: After cooking the chicken, the sauce comes together in the same skillet, picking up all those delicious browned bits.
- Family-Friendly Dinner: Kids love the chicken fingers, while the flavorful sauce makes them something adults will enjoy too.
What are chicken tenders?
Chicken tenders are small, tender pieces of chicken cut from beneath the breast. They are naturally tender, cook quickly, and are perfect for recipes like these Honey Garlic Chicken Fingers.
You can usually find chicken tenderloins already separated and packaged at the grocery store. That makes them a convenient option for a quick dinner.
Ingredients
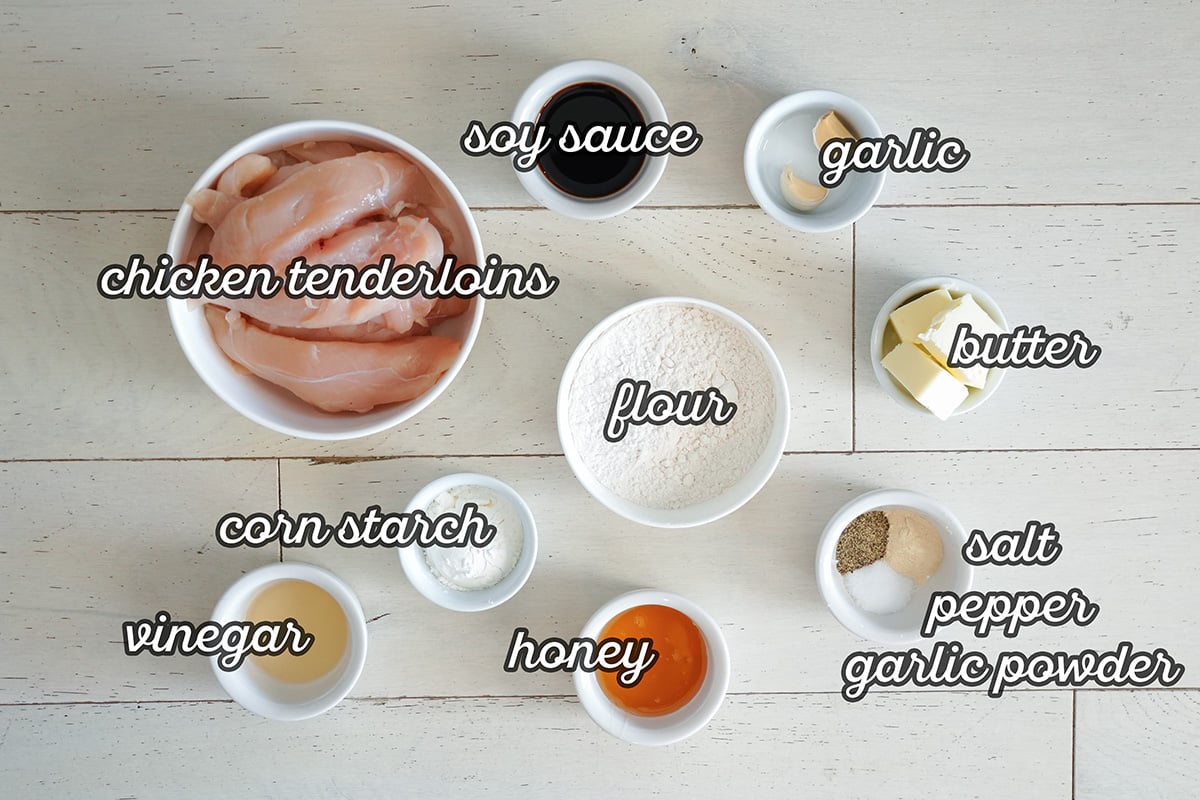
- Chicken Tenderloins: Chicken tenderloins cook quickly and stay nice and tender.
- All-Purpose Flour: The base for the crispy coating.
- Corn Starch: Helps give the chicken a lighter, crispier exterior.
- Garlic Powder: Adds garlic flavor directly to the chicken.
- Salt & Pepper: Essential seasoning for the chicken.
- Butter: Helps to build the sauce.
- Garlic Cloves: Fresh minced garlic gives the sauce its signature flavor.
- Honey: Provides the sweetness and helps create a delicious glaze.
- Soy Sauce: Adds salty, savory flavor.
- Apple Cider Vinegar: A small amount of acidity balances the sweetness of the honey.
- Vegetable Oil: Used to pan-fry the chicken.
Tim's Tip: Don't skip the cornstarch! It helps make the crispy coating without making them overly heavy.
How to make Honey Garlic Chicken Fingers
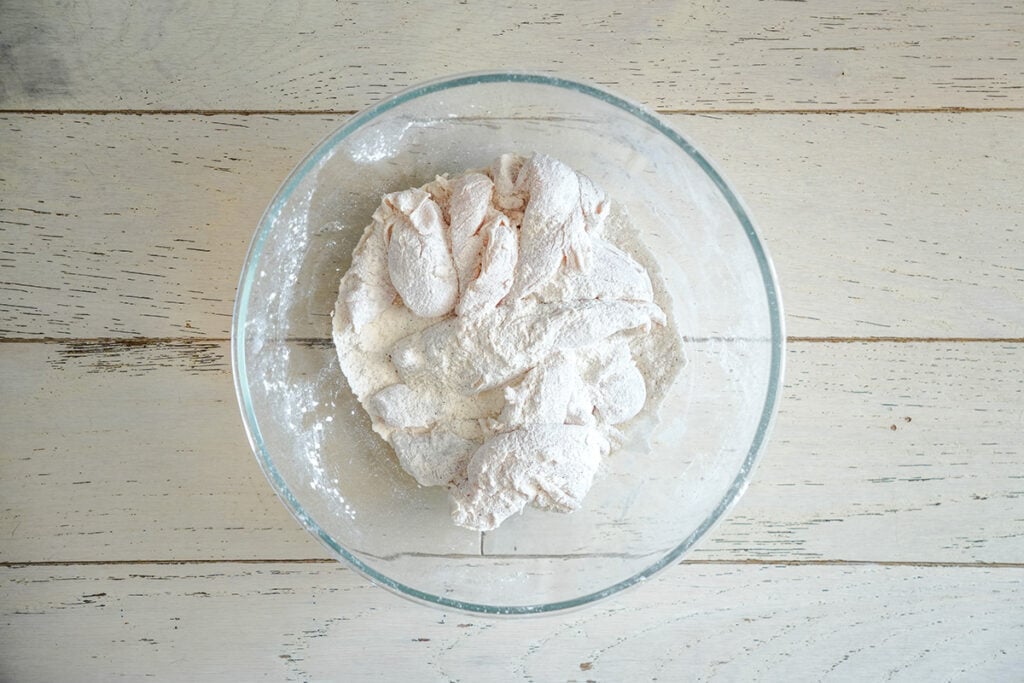
1. Make the Dredge: In a medium-sized bowl, combine the flour, cornstarch, garlic powder, salt, and pepper. Add in chicken tenderloins and toss until they are well coated.
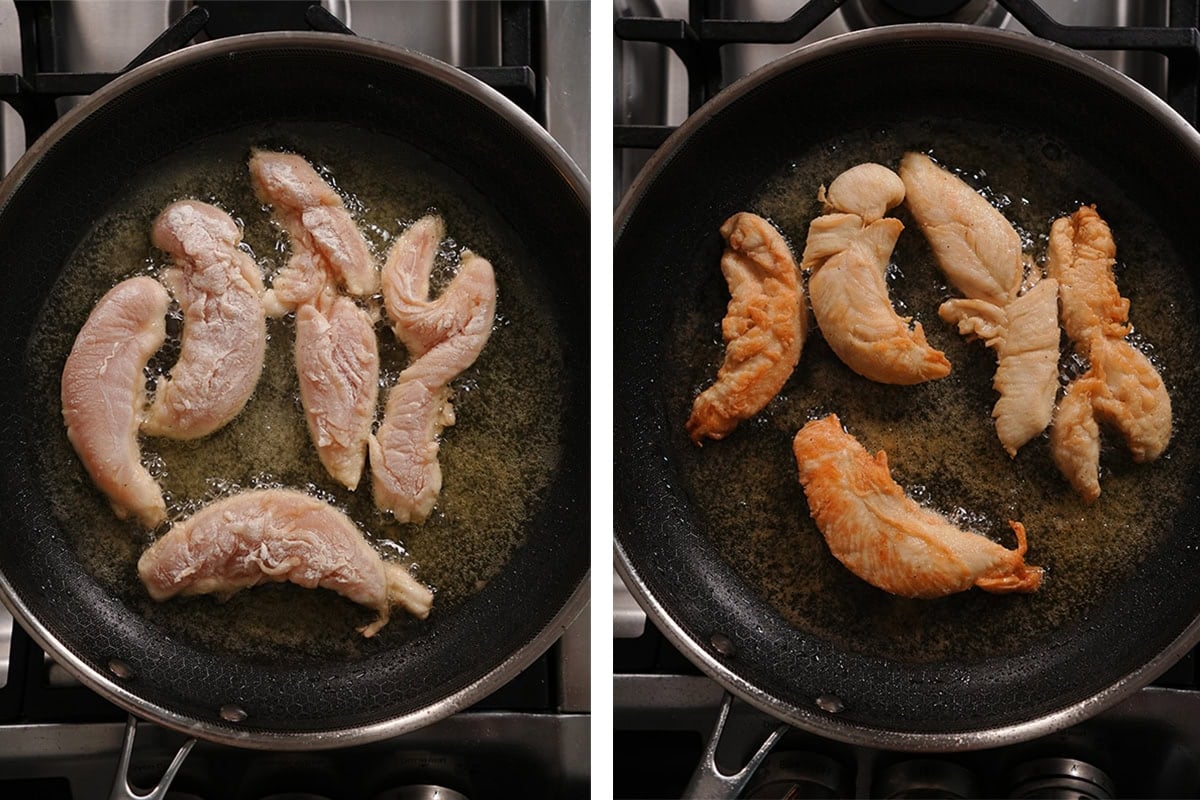
2. Cook the Chicken: Remove the chicken from the flour mixture and shake off excess.
Heat the vegetable oil in a large skillet over medium heat. Cook the chicken in two batches, so you don't overcrowd the pan. Cook for about 2-3 minutes per side, or until golden brown and the chicken reaches an internal temperature of 165°F.
Transfer the cooked chicken to a plate lined with paper towel. Carefully drain the oil, leaving the browned bits in the bottom of the pan.
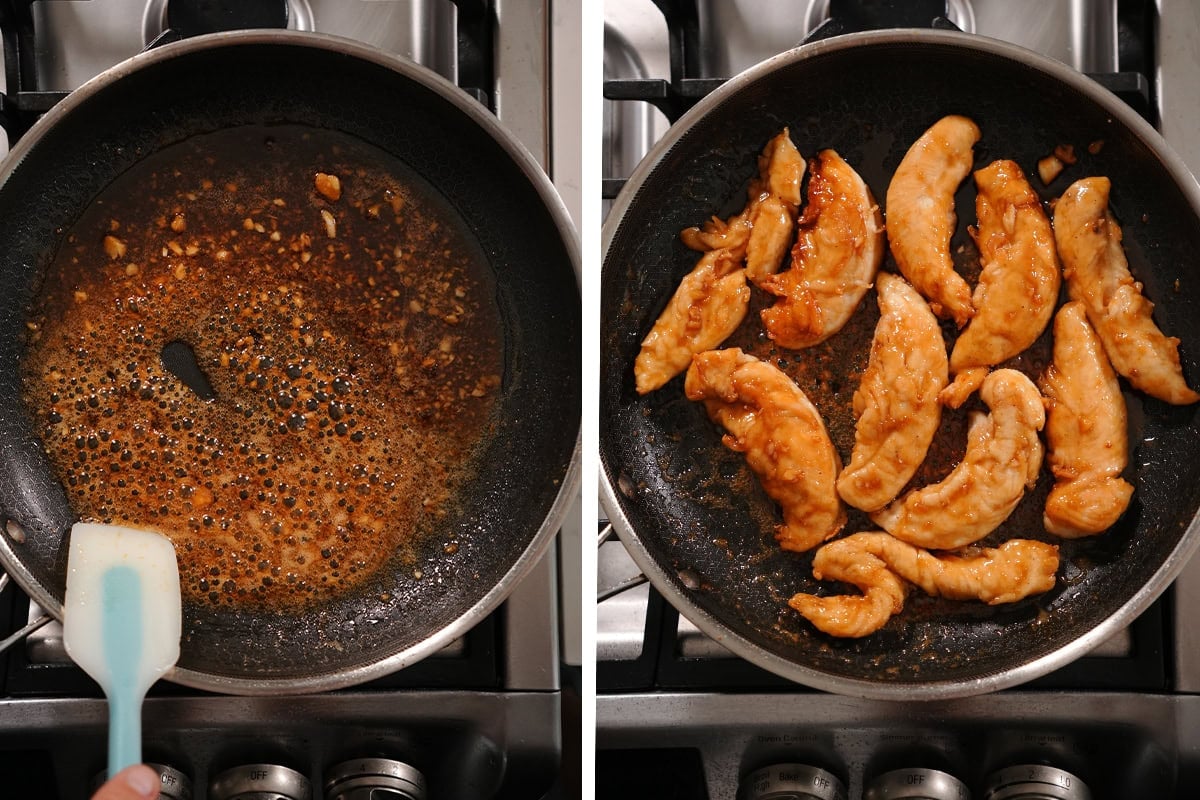
3. Make the Honey Garlic Sauce: Using the same skillet on medium-low heat. Add the apple cider vinegar to deglaze the pan, scraping up those flavorful browned bits.
Add the butter and allow it to melt. Stir in the minced garlic and cook until fragrant and just beginning to brown
Add the soy sauce and honey. Stir well and allow the sauce to warm through and begin to slightly thicken.
4. Add the Chicken: Return the cooked chicken tenderloins to the skillet. Turn the chicken several times, making sure each piece is coated well in the honey garlic sauce.
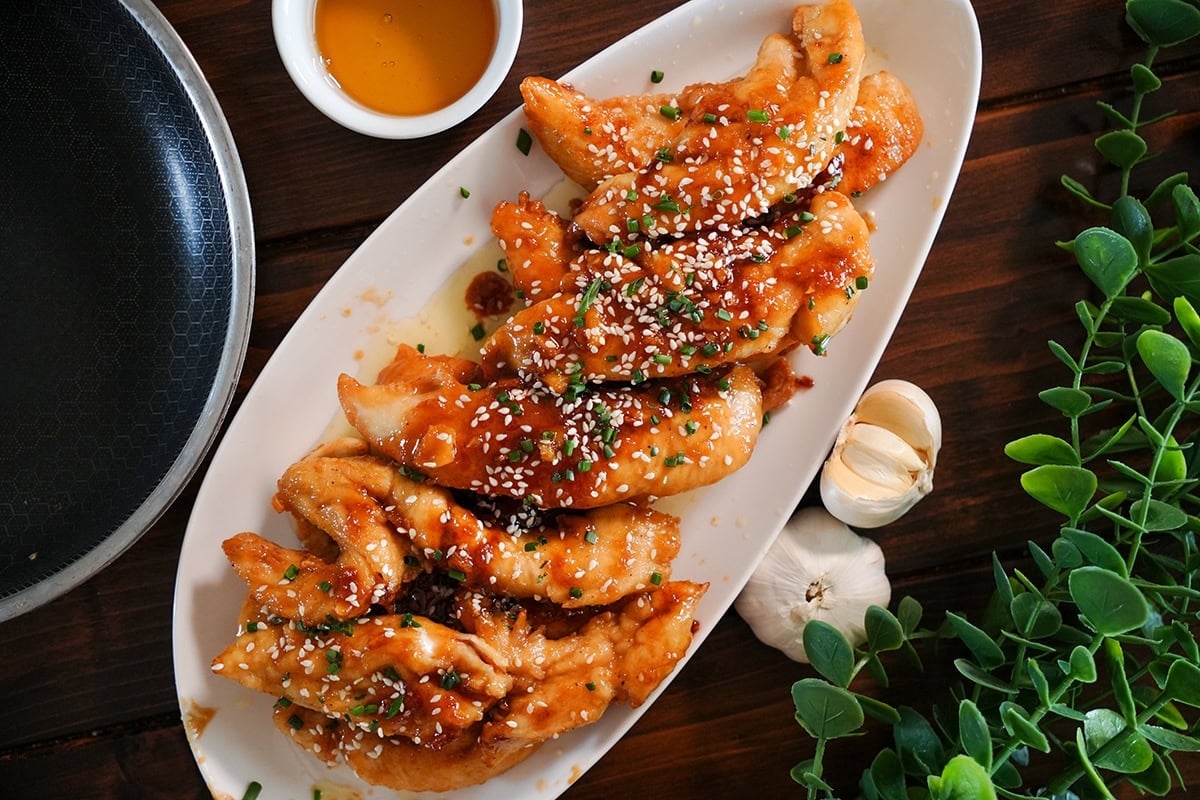
5. Finish: Remove from the heat and garnish with sesame seeds and sliced green onions, if desired.
Made this recipe? Let me know!
expert tips
- Don't overcrowd the skillet: Cook the chicken in batches so each piece has plenty of room to brown properly.
- Don't overcook the chicken: Chicken tenders cook quickly. Overcooking them can leave you with dry, tough chicken.
- Don't skip the browned bits: When you deglaze the skillet with apple cider vinegar, scrape up those flavorful bits from the bottom of the pan. They add extra flavor to the sauce.
- Watch the Garlic: Fresh garlic can burn quickly, so keep it at a medium-low heat once you start making the sauce.
Substitutions and variations
- Chicken Breasts: You can cut boneless, skinless chicken breasts into strips if you don't have chicken tenderloins.
- Chicken Thighs: Boneless, skinless chicken thighs work well and add even more flavor.
- Add some spice: Add a pinch of red pepper flakes or a little sriracha to the sauce for some heat.
- Make it Gluten Free: Use a gluten-free all-purpose flour and a gluten-free soy sauce.
FAQs
Yes, the honey garlic sauce can be made ahead and refrigerated. Warm it gently in the skillet before adding the cooked chicken.
Baking is definitely the "healthier" way, but you will get a less crispy texture on the outside.
What to Serve with Honey Garlic Chicken Tenders
There are plenty of ways to turn these Honey Garlic Chicken Fingers into a complete meal. Try serving them with:
- Mashed Potatoes:
- Roasted Vegetables:
- Coleslaw or Roasted Corn Cole Slaw
- A simple salad with Buttermilk Ranch Dressing
- Sweet Potato
STorage
Refrigerator: Place the cooled chicken into an airtight container for up to 3-4 days.
Freezer: You can freeze the cooked chicken in an airtight freezer-safe container for up to 2 months. Remember the coating won't be quite as crispy after freezing and reheating.
Reheating: For best results, reheat in an air fryer until heated through. Avoid microwaving if possible because it can make the coating soft.
More Chicken Recipes
Made this recipe? Let me know!
Recipe

Honey Garlic Chicken Fingers

Equipment
- Skillet
- Stove Top
Ingredients
- ½ cup All-Purpose Flour
- 2 tablespoon Corn Starch
- 1 teaspoon Garlic Powder
- 1 teaspoon Salt
- ½ teaspoon Pepper
- ½ cup Vegetable Oil
- 1½ lbs Chicken Tenderloins
For The Sauce
- 3 tablespoon Butter
- 3 Garlic Cloves
- 3 tablespoon Honey
- 2 tablespoon Soy Sauce
- 1 tablespoon Apple Cider Vinegar
Instructions
- Make the Dredge: In a medium-sized bowl, combine the flour, cornstarch, garlic powder, salt, and pepper. Add in chicken tenderloins and toss until they are well coated. ½ cup All-Purpose Flour 2 tbsp Corn Starch 1 tsp Garlic Powder 1 tsp Salt ½ tsp Pepper
- Cook the Chicken: Remove the chicken from the flour mixture and shake off excess. 1½ lbs Chicken Tenderloins Heat the vegetable oil in a large skillet over medium heat. Cook the chicken in two batches, so you don't overcrowd the pan. Cook for about 2-3 minutes per side, or until golden brown and the chicken reaches an internal temperature of 165°F. ½ cup Vegetable Oil Transfer the cooked chicken to a plate lined with paper towel. Carefully drain the oil, leaving the browned bits in the bottom of the pan.
- Make the Honey Garlic Sauce: Using the same skillet on medium-low heat. Add the apple cider vinegar to deglaze the pan, scraping up those flavorful browned bits. 1 tbsp Apple Cider Vinegar Add the butter and allow it to melt. Stir in the minced garlic and cook until fragrant and just beginning to brown. 3 tbsp Butter 3 Garlic Cloves Add the soy sauce and honey. Stir well and allow the sauce to warm through and begin to slightly thicken. 2 tbsp Soy Sauce 3 tbsp Honey
- Add the Chicken: Return the cooked chicken tenderloins to the skillet. Turn the chicken several times, making sure each piece is coated well in the honey garlic sauce.
- Finish: Remove from the heat and garnish with sesame seeds and sliced green onions, if desired.
Notes
- Don't overcrowd the skillet: Cook the chicken in batches so each piece has plenty of room to brown properly.
- Don't overcook the chicken: Chicken tenders cook quickly. Overcooking them can leave you with dry, tough chicken.
- Don't skip the browned bits: When you deglaze the skillet with apple cider vinegar, scrape up those flavorful bits from the bottom of the pan. They add extra flavor to the sauce.
- Watch the Garlic: Fresh garlic can burn quickly, so keep it at a medium-low heat once you start making the sauce.


Comments
No Comments