
This 5-ingredient Apple Pie with Canned Apple Pie Filling is packed with fruity flavor and is an easy shortcut version of a classic homemade dessert that's always a fan-favorite.
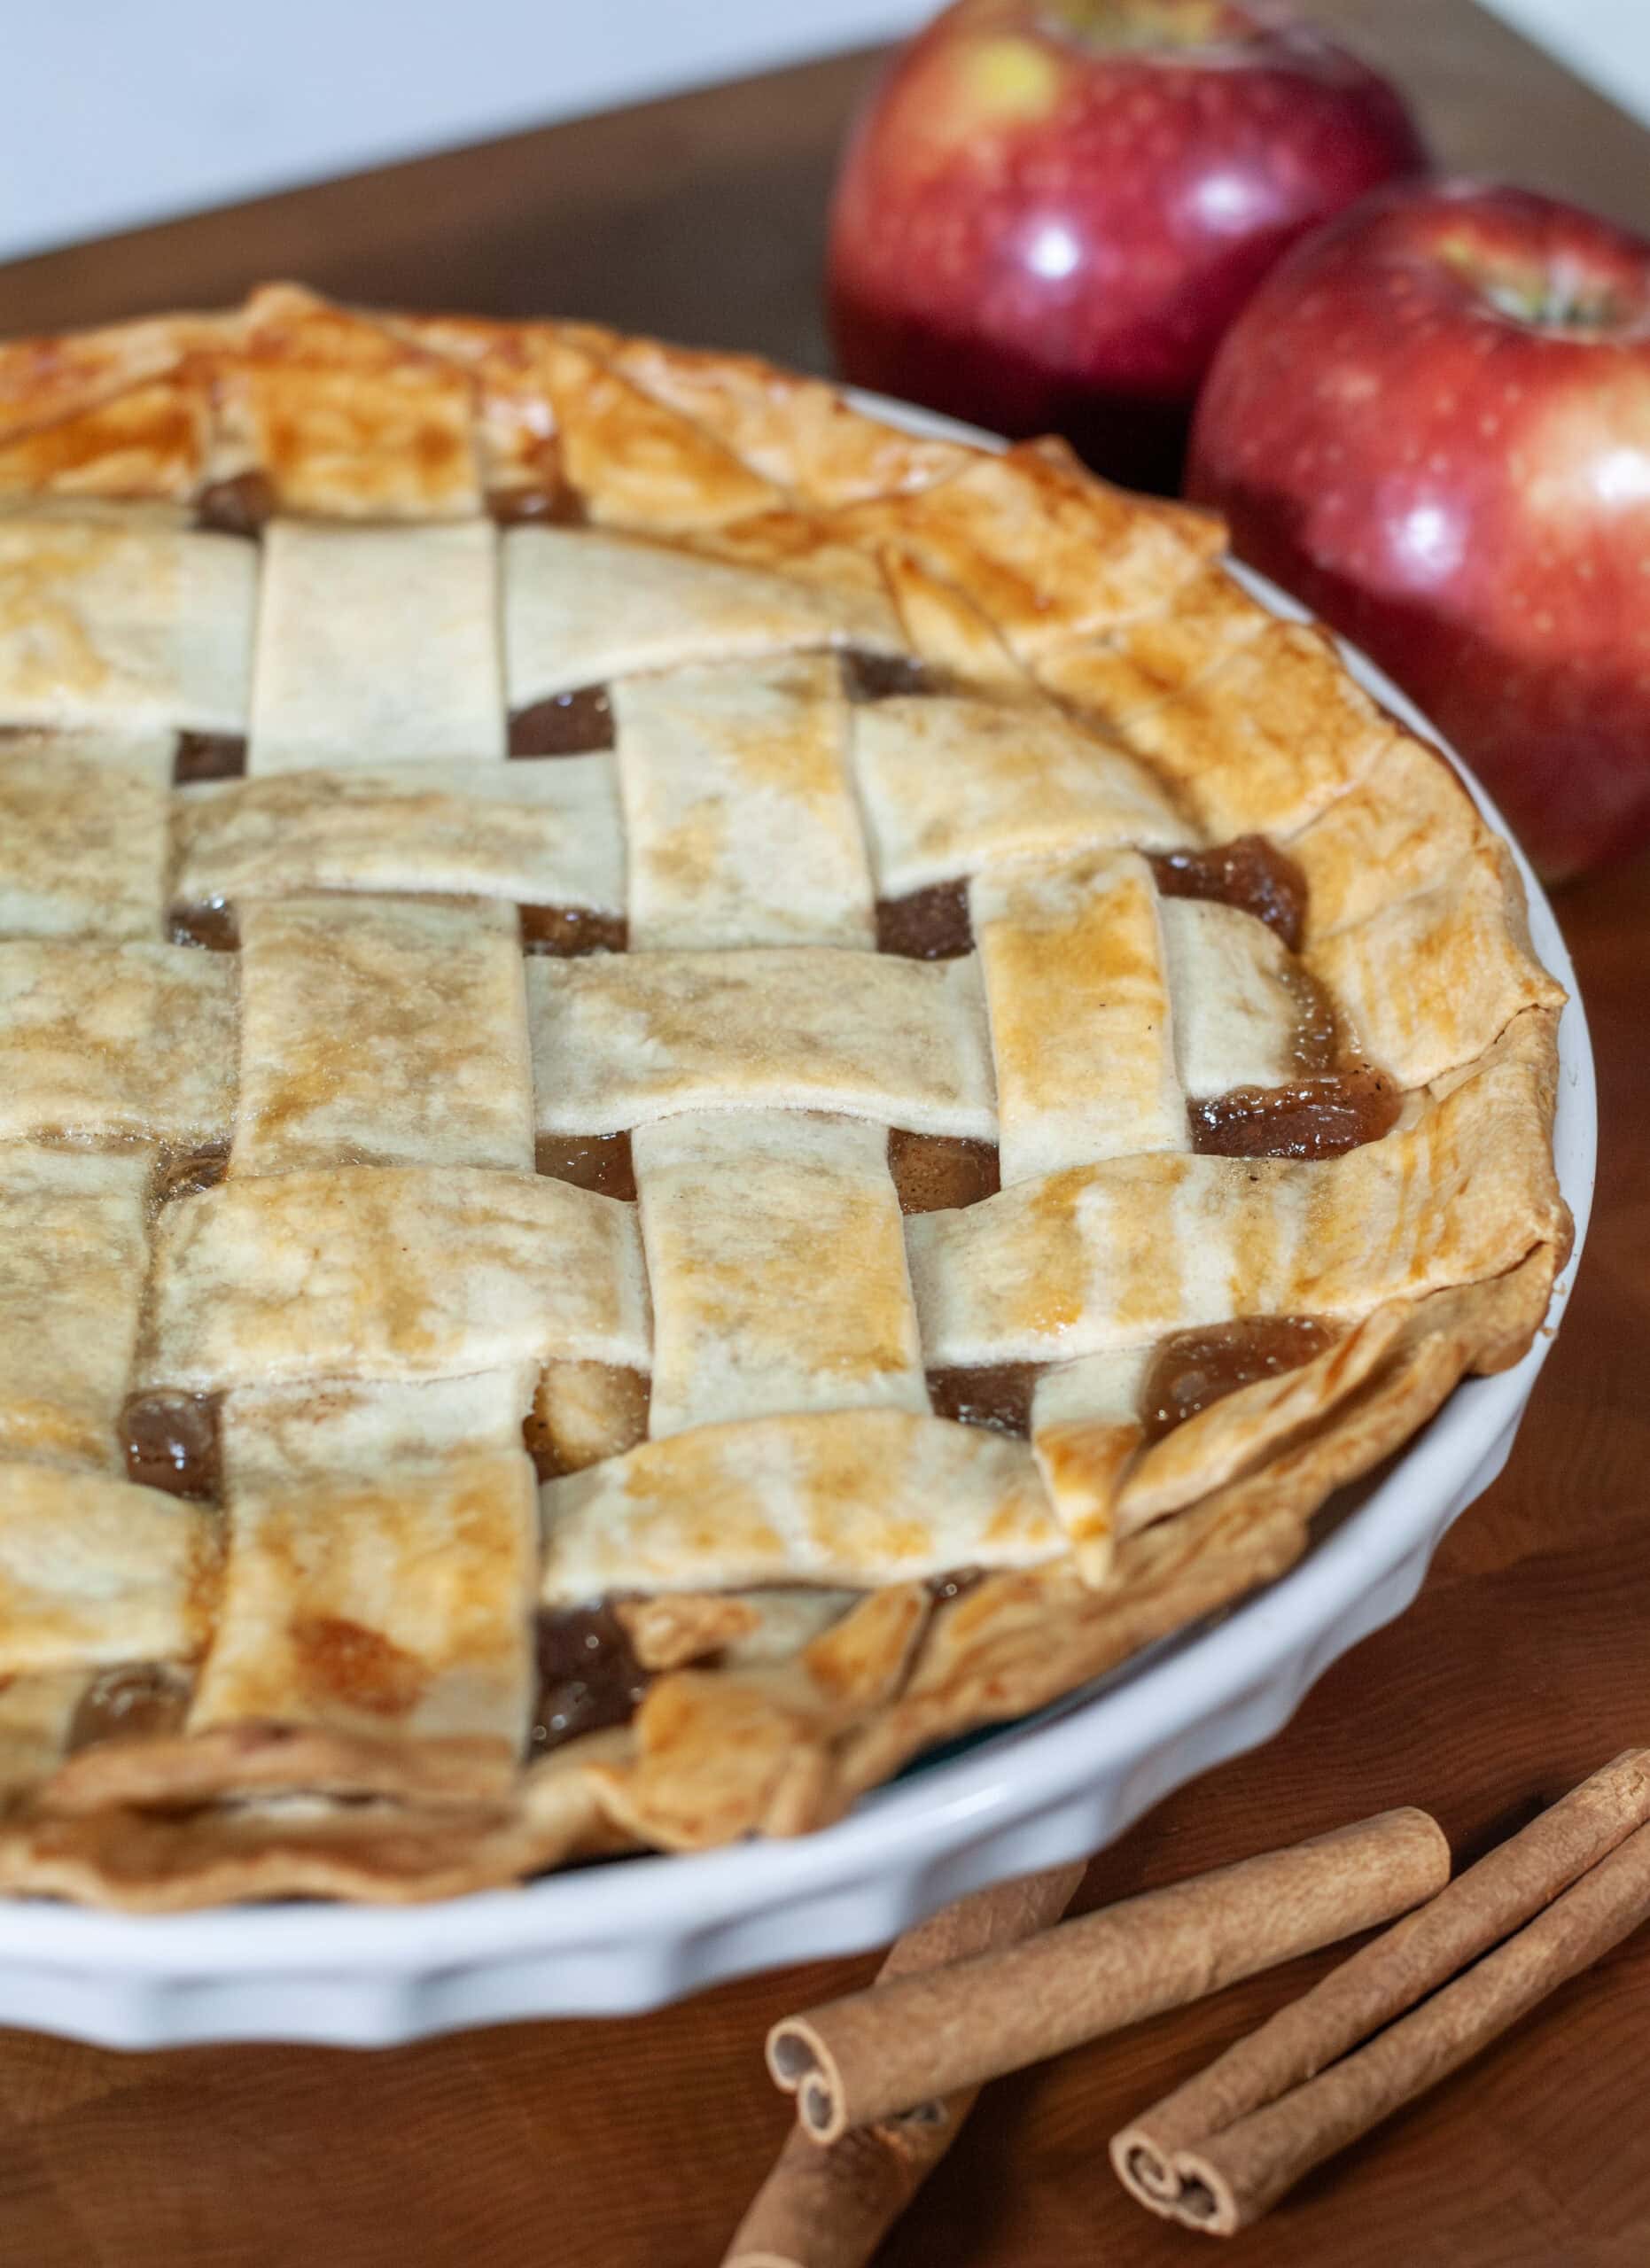
There's a reason apple pie is timeless. It's cozy, classic, and always a crowd-pleaser. And, my favorite fruit dessert just happens to be apple pie, so I made this version as easy as possible so I can quickly whip up a pie in under an hour whenever I want! This Apple Pie Recipe with Canned Filling uses just five simple ingredients and delivers a classic, homemade taste with minimal effort. No need to peel a single apple!
Using doctored-up canned filling with warm spices and two buttery store-bought crusts, this method is as simple as it gets. The pie is baked until golden brown and tastes bakery-quality with minimal stress. Serve a slice warm with a scoop of vanilla ice cream, and you've got a dessert loved by all, worthy of a fall afternoon, Sunday supper, or anytime a craving hits.
If you love a pie, my Peach Mango Pie and No-Bake Chocolate Pie are two others to try.
Reader Review: "This turned out awesome! The canned filling also had a good amount of seasoning by itself. So if you're out of nutmeg or cinnamon, you can skip those! Thanks, Tim!" - Casey
Why you'll love this recipe
- Just 5 simple ingredients - nothing fancy, plus no long grocery list.
- Uses canned apple pie filling - so there is no peeling or slicing apples.
- Delivers classic, homemade taste - that everyone loves, with minimal effort, using warm spices.
- Great for holidays, entertaining, or for dessert any time - the perfect dessert to bring to a party, potluck, or to enjoy at home with family.
Ingredients

- Canned Apple Pie Filling - The ultimate shortcut! Sweet, spiced, and ready to pour.
- Cinnamon - The cozy classic to add that warm, "it smells like fall" apple pie flavor.
- Nutmeg - A tiny pinch equals big magic.
- Pie Crust - Your flaky, buttery best friend.
- Egg White (egg wash) - The secret to a shiny, golden top crust!
Pro Tip: If you want a firmer slice and thicker filling, stir 2-3 tablespoons all-purpose flour into the canned apple pie filling. This will help thicken the filling if needed.
Equipment and Supplies
This recipe is easy to make with just the right tools!
- Pastry Brush - Perfect for brushing on egg wash like a pro.
- 9-inch pie plate - Your trusted baking base!
- Pizza Cutter - Helps cut clean slices of dough!
- Spatula - Great for stirring and scraping!
- Glass mixing bowl - Ideal for mixing everything (plus you can see what you mix)
- Measuring Spoons - Because a pinch is nice...but accurate is better.
- Can Opener - The quickest way to unlock canned ingredients with zero struggle.
How to make apple pie with canned apple pie filling
Preparing Apple Filling
- Preheat your oven to 350°F.
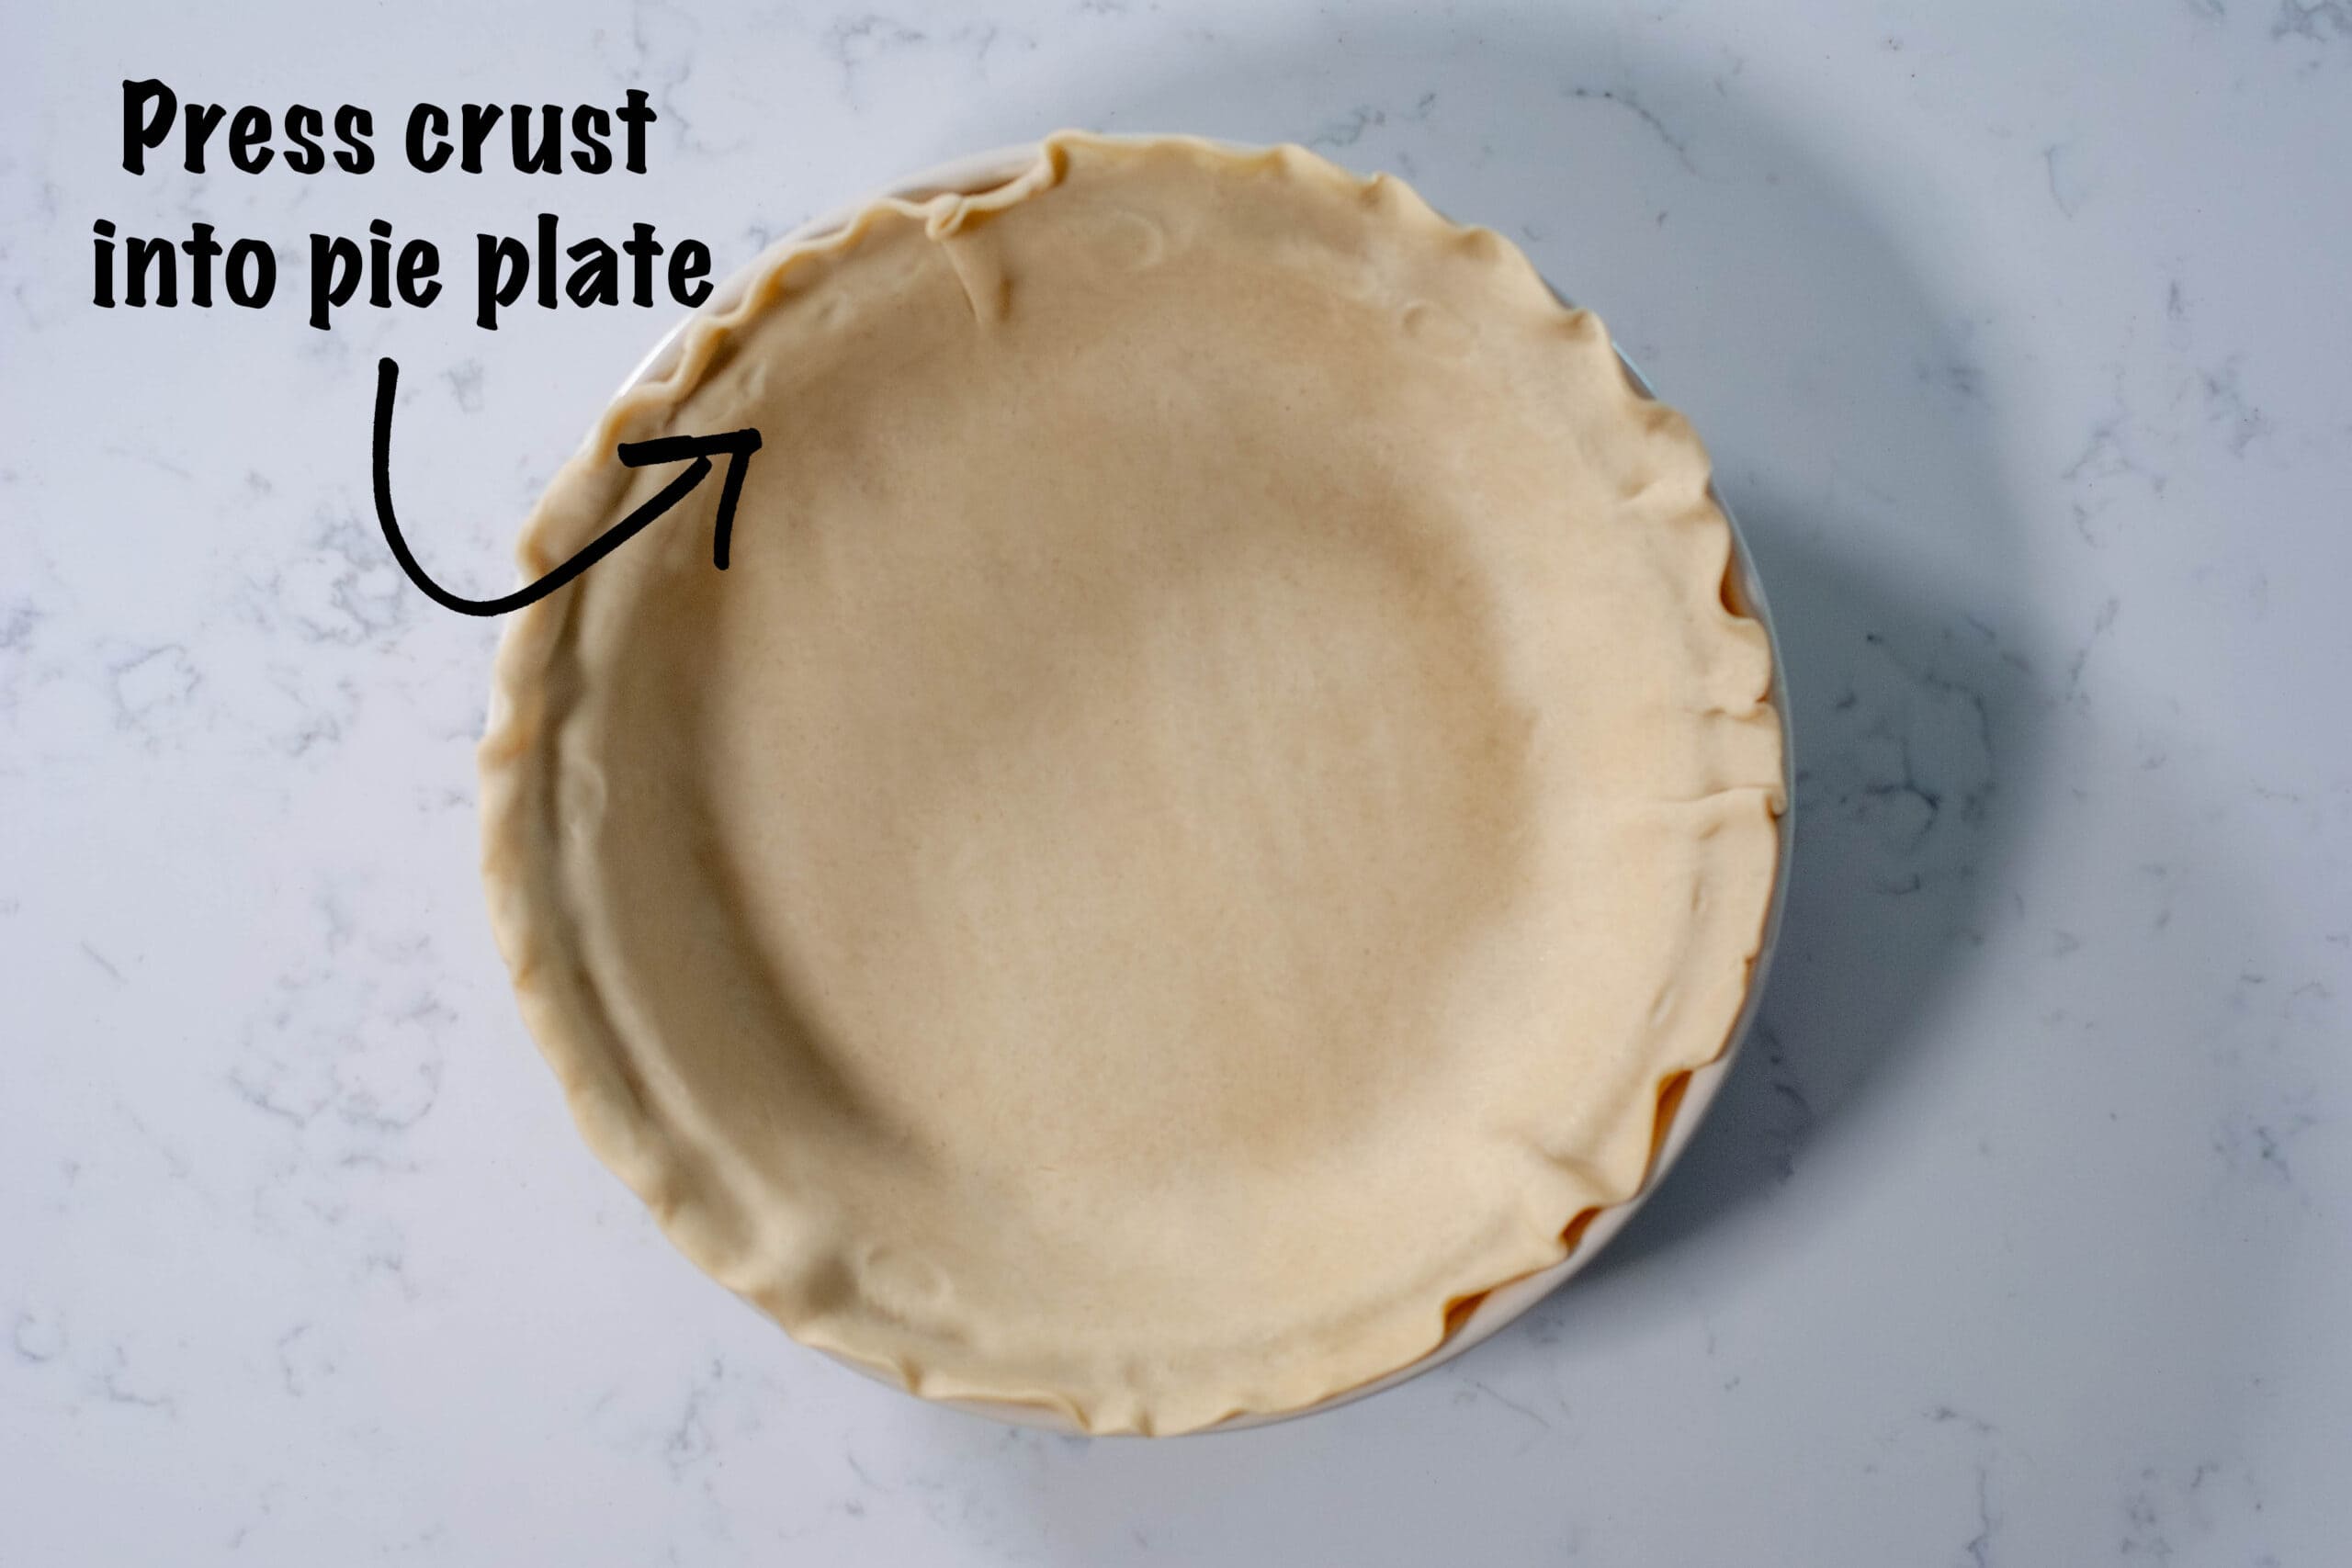
- Unroll one store-bought pie crust and gently press it into a 9-inch pie plate. Use your fingers to press it firmly against the pie plate, especially along the edges of the pie crust, so it holds the filling well.
Pro Tip: Place a baking sheet on the lower rack of the oven to catch any drips to keep your oven clean!

- Make the Apple Filling - In a large bowl, mix the 2 cans of apple pie filling, cinnamon, and nutmeg. Stir until the spices are evenly distributed through the apple filling.
- Pour the apple mixture into the prepared bottom crust and spread it out evenly.
Baking the Apple Pie
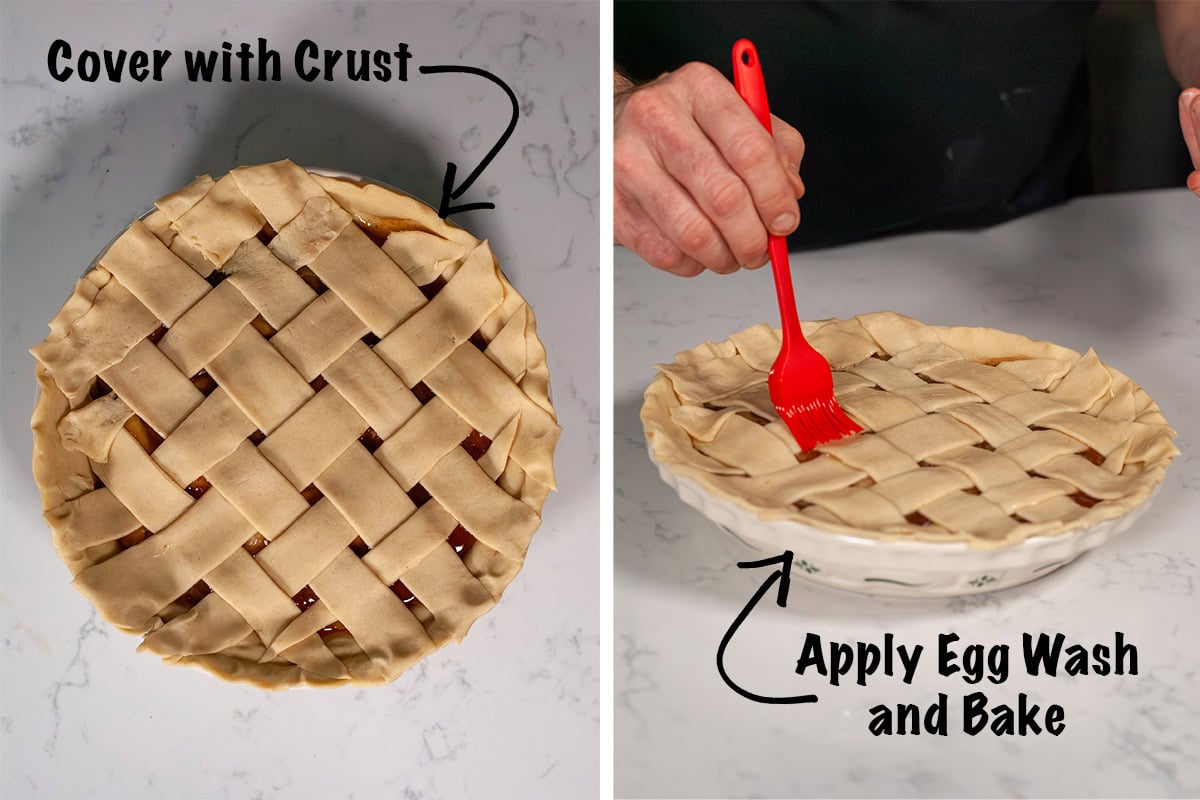
- Add the top crust. You can place it whole and cut a few slits on top of the pie, or you can do as I did and make a lattice crust.
- Brush the top of the pie with a light coating of egg white using a pastry brush. This will help it bake up golden brown and shiny.
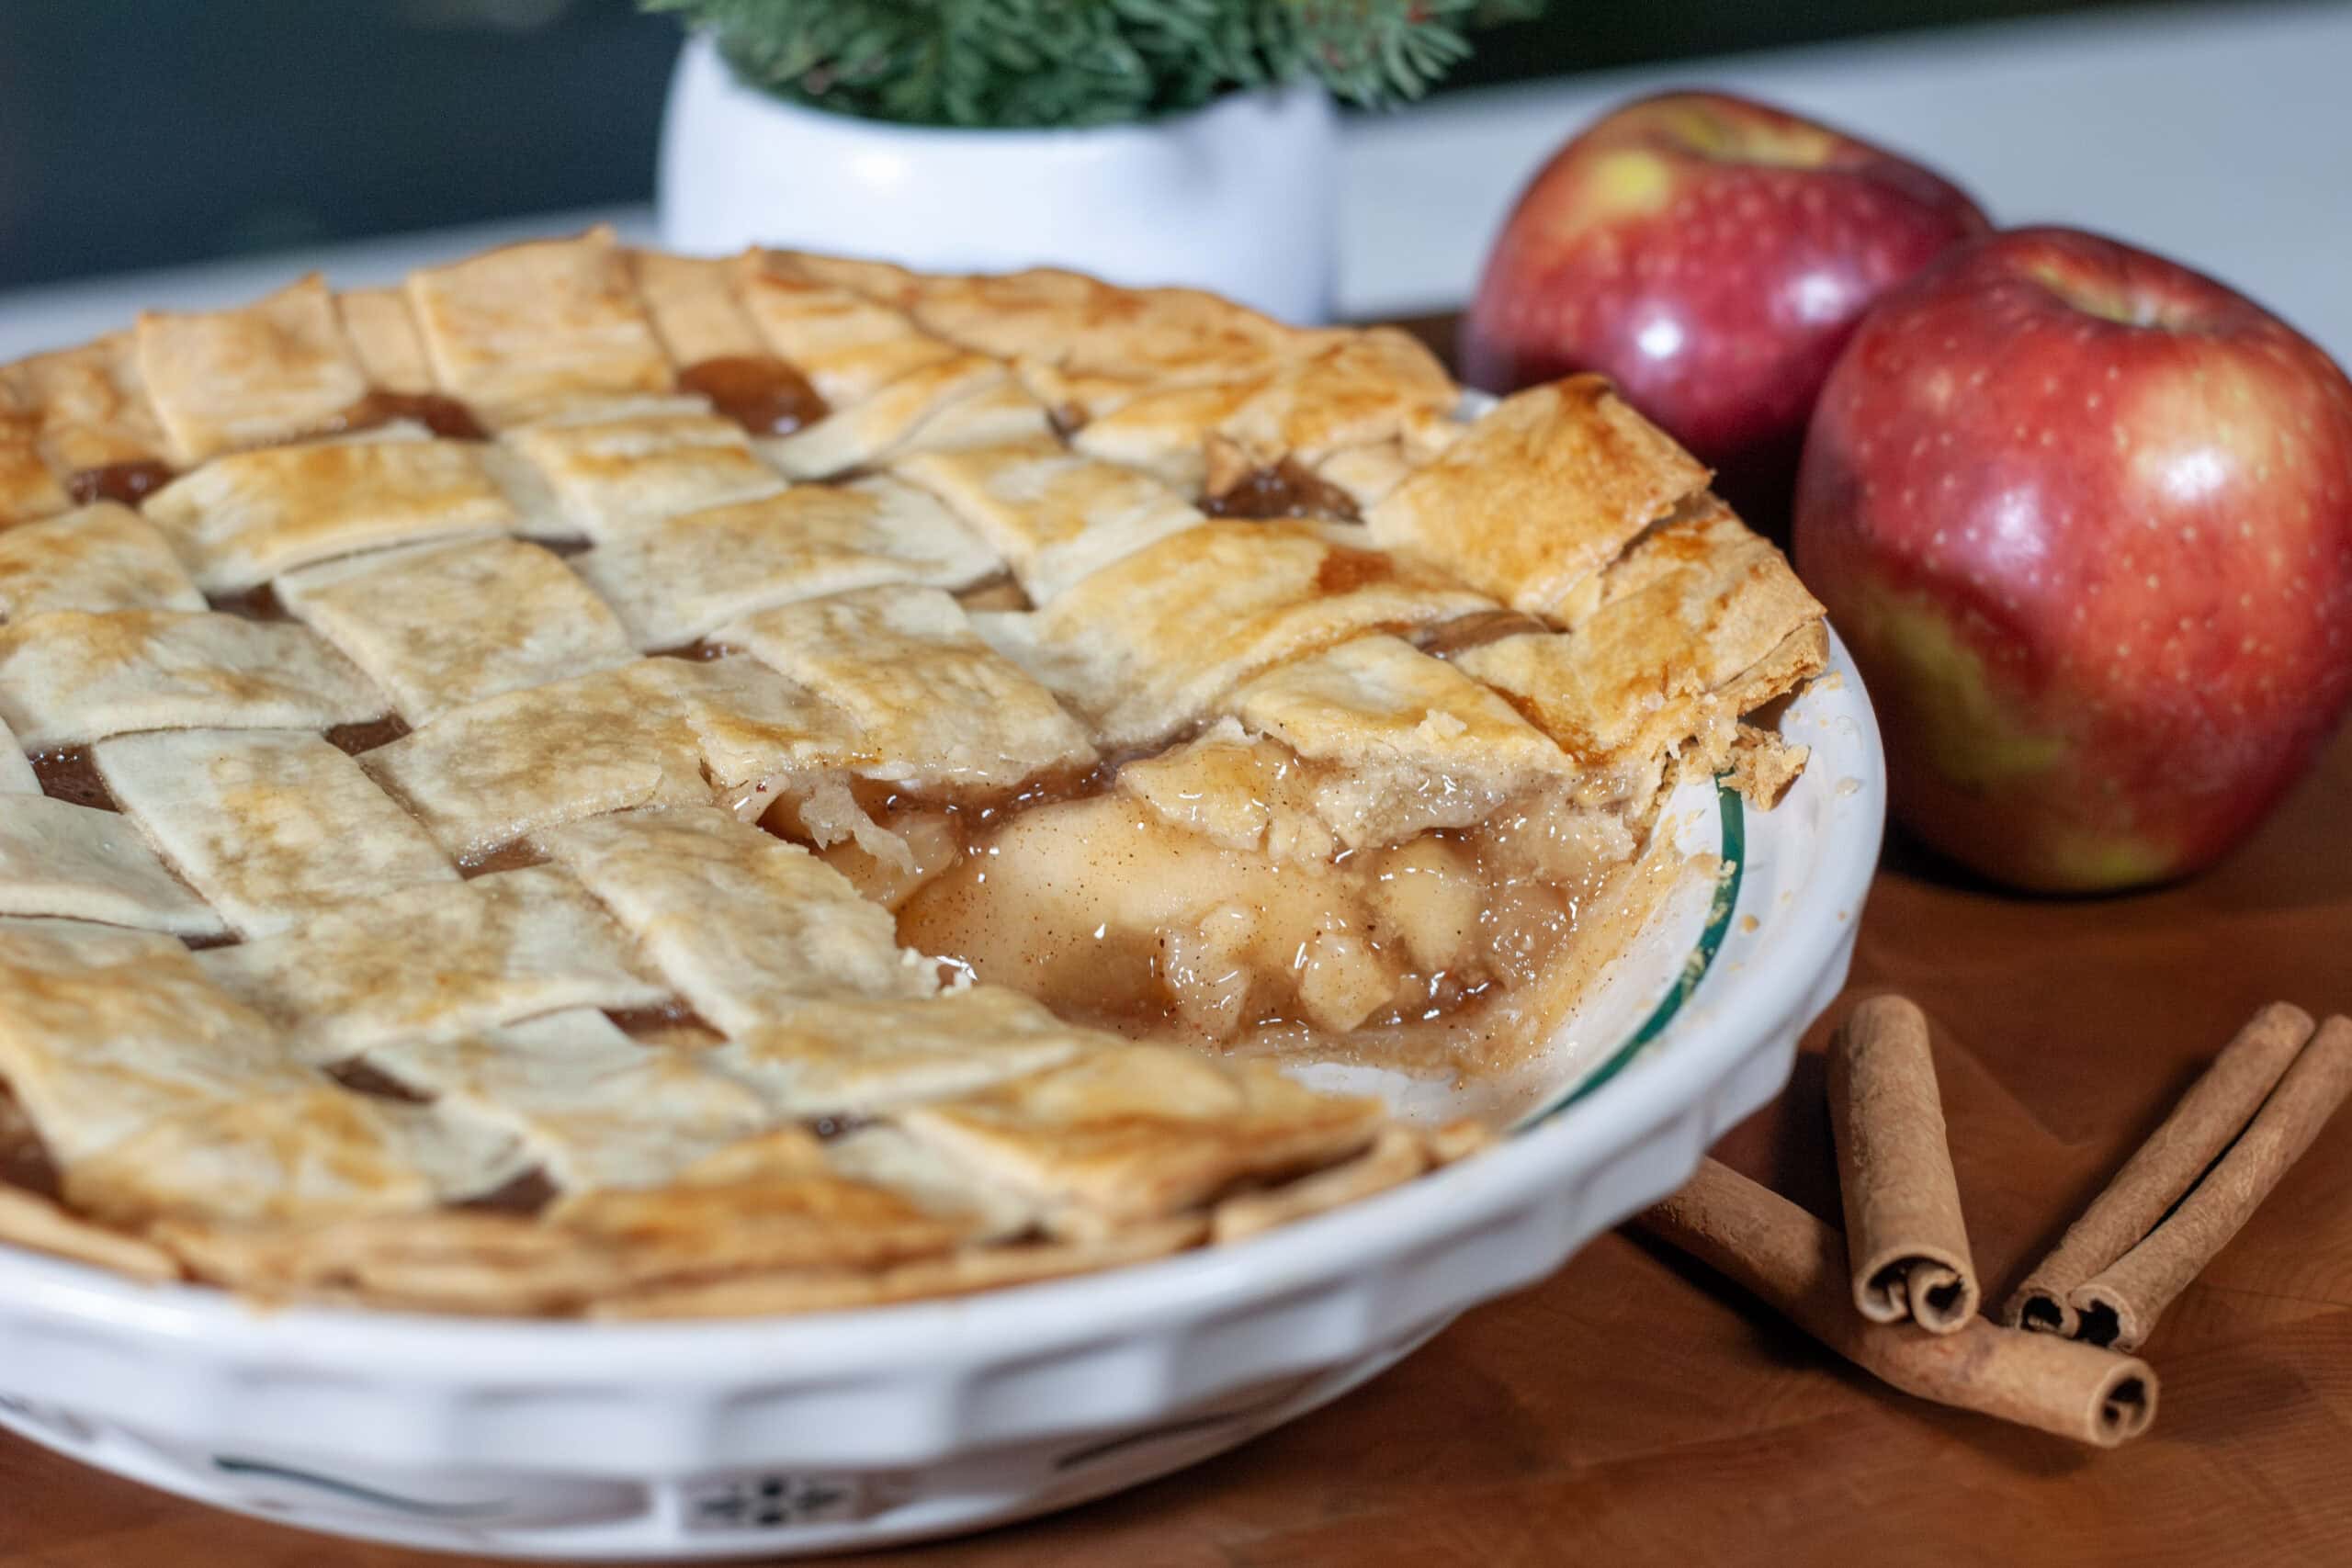
- Bake the pie for 45 minutes, or until the crust is golden brown and the filling is bubbling. Remove the pie from the oven and let it cool on a wire rack for at least 30 minutes or until it reaches room temperature before slicing.
Pro Tip: Slitting the top pie crust will allow the pie to breathe while it bakes.
Expert tips
- Doctor up the canned filling with cinnamon and nutmeg - this is what makes it taste homemade instead of straight from the can
- Brush with egg white - for the best golden, glossy crust finish.
- Cut slits in the top crust or make a lattice - using a paring knife, so steam can escape and the filling doesn't push the crust up.
- Let the pie cool before slicing - so the filling has time to set and the flavors develop.
How to serve apple pie with canned filling
- Classic Serving
- You can't go wrong serving warm slices with a scoop of vanilla ice cream. It is the classic combo for a reason!!
- Fun and Creative Serving Ideas
- Drizzle with caramel sauce for a sweet bakery-style finish.
- Top with whipped cream for a light and fluffy option.
- Serve with sharp cheddar cheese - it's a classic old-school pairing.
- Dust with powdered sugar for a pretty presentation.
Variations and Substitutions
- Add a streusel or crumb topping - instead of a full top crust, for extra crunch.
- Add a cup of fresh apple slices to the filling - for extra texture.
- Use a lattice top crust - for a more decorative look.
- Serve warm - with a scoop of vanilla ice cream. Nothing beats a la mode.
- Spice Swaps:
- Add a pinch of cloves or allspice if you love the extra flavor.
- Use apple pie spice instead of cinnamon and nutmeg.
- Filling Mix-Ins:
- Add 1 teaspoon of lemon juice to brighten the flavor and balance the sweetness.
- Mix in chopped pecans or walnuts for crunch
- Stir in a handful of thin apple slices for a more "from-scratch" bite.
- Blueberry Pie Filling - A sweet, juicy classic that tastes like summer
- Add a little lemon juice for brightness.
- Peach Pie Filling - A soft, golden, and super cozy.
- Add a pinch of cinnamon or nutmeg.
- Cherry Pie Filling - A bold, tangy-sweet option that's perfect for holidays.
- Add a tiny splash of almond extract.

storage
Room Temperature & refrigerator
- Let the pie cool completely, then store it covered loosely with plastic wrap or foil at room temperature for up to 2 days.
- Store in the refrigerator for up to 4 days for longer freshness; reheat individual slices in the microwave or oven before serving.
Freezer
- Apple pie can freeze beautifully. Slice the pie and wrap each slice individually, then place in a freezer-safe bag or container.
- You can also freeze the whole pie by wrapping it tightly in plastic wrap, then foil
- Store in the freezer for up to 2 months.
How to reheat
- Reheat a slice in the oven at 350° F for 10-15 minutes, or until heated through to keep the crust flaky.
- Reheat the whole pie by covering loosely with foil and warming at 350° F for 20-125 minutes. Remove foil for the last few minutes to crisp up the crust.
- A microwave can be a quick option. You can warm a slice for 20-30 seconds. Keep in mind that the crust will be softer.
More easy dessert recipes
Looking for more sweet treats? Here are some more desserts my family requests over and over:
- Cranberry Apple Crisp - A cozy apple dessert with a tangy cranberry twist and the perfect warm, comforting fruit treat.
- No-Bake Chocolate Pie - If you love pies, you'll love this No-Bake Chocolate Pie! It is rich, creamy, and ideal for when you don't want to turn on the oven.
- 5 Ingredient No-Bake Lemon Cheesecake - Light, creamy, and made with just a handful of ingredients. An easy dessert with bright lemon flavor.
- Holy Smoke - A classic sweet treat that's smoky, gooey, and totally irresistible. It is always a hit for parties and gatherings.
Frequently Asked Questions
Absolutely, homemade pie crust would be delicious. If you have a favorite recipe or a frozen homemade crust on hand, feel free to use it the same way as this recipe instructs.
No, you can just press the crust into the pan, add the filling, top with the second crust, then bake at the same time. With the 45-minute bake time, the crusts and filling can bake together, no problem.
Definitely. Adding diced fresh apples to the canned filling will give it extra texture and even more of that "from scratch" flavor. We like Granny Smiths, Pink Lady's and Honey Crisps.
Yes! You can fully assemble and bake the pie, then cool and store at room temperature or in the fridge until you're ready to serve. Reheat in the oven at 350° until warm and bubbly. Alternatively, you can assemble and freeze the pie up to 2 months in advance, cover, then bake from frozen. Just remember to allow the pie to come to room temperature while the oven pre-heats.
Video of Recipe
Recipe

Apple Pie (with Canned Apple Filling)

Equipment
- Pie Pan
- Oven
Ingredients
- 2 Pie Crusts uncooked
- 40 oz Canned Apple Pie Filling
- 1 teaspoon Cinnamon
- 1 teaspoon Nutmeg
- 1 Egg White for egg wash
Instructions
- Preheat your oven to 350°F.
- Unroll one store-bought pie crust and gently press it into a 9-inch pie plate. Use your fingers to press it firmly against the pie plate, especially along the edges of the pie crust, so it holds the filling well. 2 Pie Crusts
- Make the Apple Filling - In a large bowl, mix the 2 cans of apple pie filling, cinnamon, and nutmeg. Stir until the spices are evenly distributed through the apple filling. 40 oz Canned Apple Pie Filling 1 tsp Cinnamon 1 tsp Nutmeg
- Pour the apple mixture into the prepared bottom crust and spread it out evenly.
- Add the top crust. You can place it whole and cut a few slits on top of the pie, or you can do as I did and make a lattice crust.
- Brush the top of the pie with a light coating of egg white using a pastry brush. This will help it bake up golden brown and shiny. 1 Egg White
- Bake the pie for 45 minutes, or until the crust is golden brown and the filling is bubbling. Remove the pie from the oven and let it cool on a wire rack for at least 30 minutes or until it reaches room temperature before slicing.
Notes
Room Temperature & refrigerator
- Let the pie cool completely, then store it covered loosely with plastic wrap or foil at room temperature for up to 2 days.
- Store in the refrigerator for up to 4 days for longer freshness; reheat individual slices in the microwave or oven before serving.
Freezer
- Apple pie can freeze beautifully. Slice the pie and wrap each slice individually, then place in a freezer-safe bag or container.
- You can also freeze the whole pie by wrapping it tightly in plastic wrap, then foil
- Store in the freezer for up to 2 months.
How to reheat
- Reheat a slice in the oven at 350° F for 10-15 minutes, or until heated through to keep the crust flaky.
- Reheat the whole pie by covering loosely with foil and warming at 350° F for 20-125 minutes. Remove foil for the last few minutes to crisp up the crust.
- A microwave can be a quick option. You can warm a slice for 20-30 seconds. Keep in mind that the crust will be softer.
- Doctor up the canned filling with cinnamon and nutmeg - this is what makes it taste homemade instead of straight from the can
- Brush with egg white - for the best golden, glossy crust finish.
- Cut slits in the top crust or make a lattice - using a paring knife, so steam can escape and the filling doesn't push the crust up.
- Let the pie cool before slicing - so the filling has time to set and the flavors develop.


Casey L says
This turned out awesome! The canned filling also had a good amount of seasoning by itself. So if you’re out of nutmeg or cinnamon, you can skip those! Thanks, Tim!